Blog Post 004 - How To Rip Blu-Ray (4k+4kUHD) With Buffalo
Ditch your paid streaming services and self host with Jellyfin
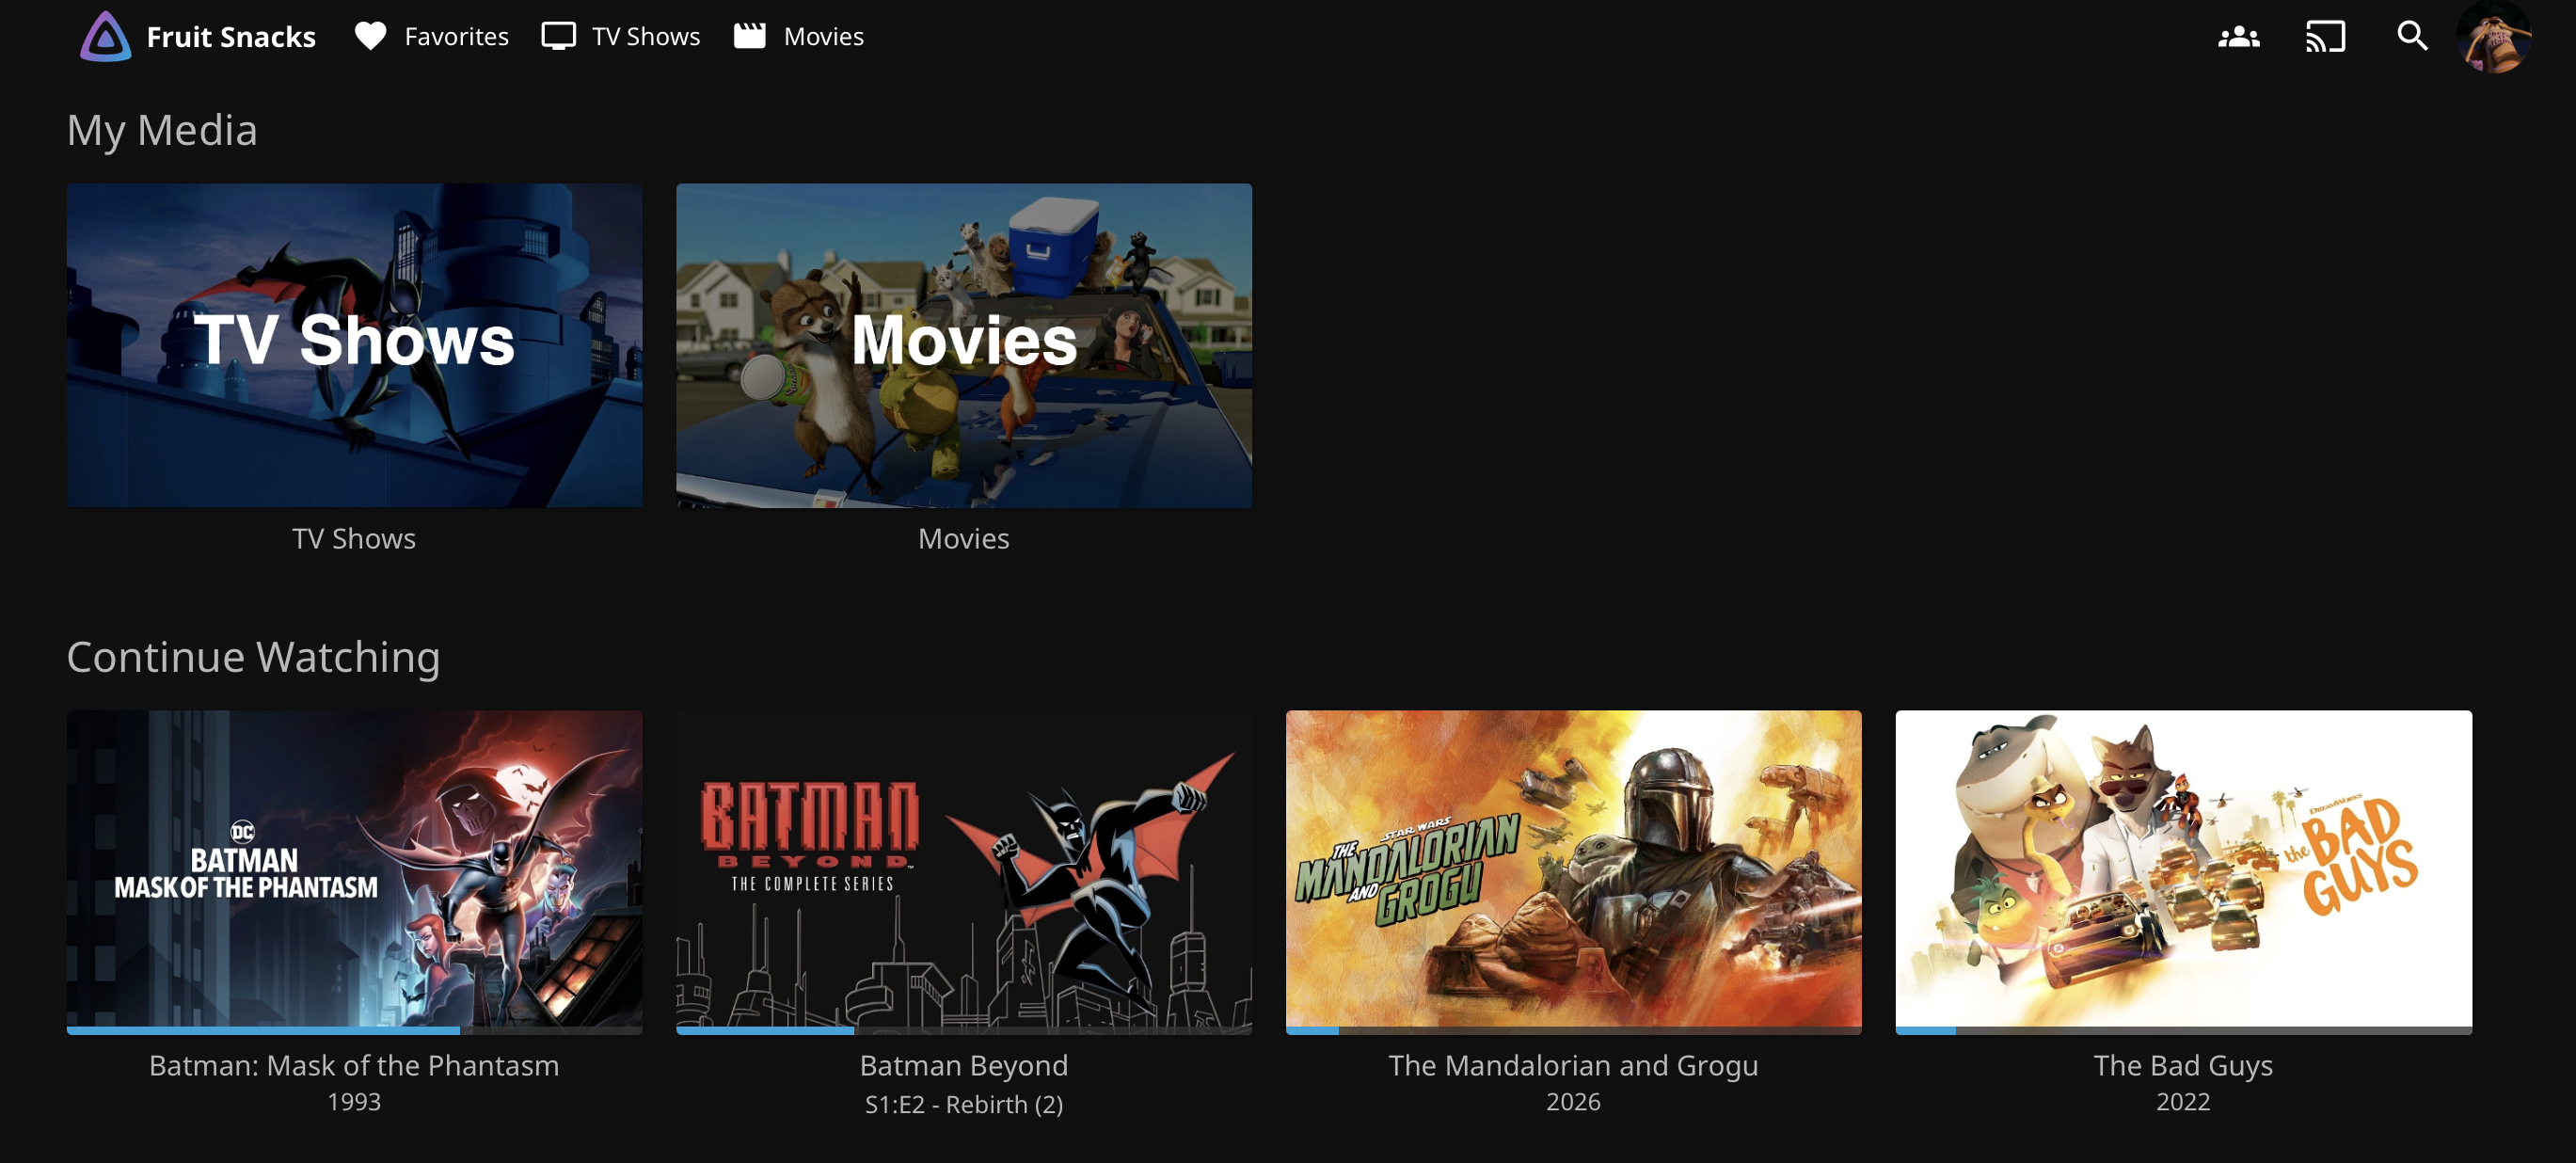
Streaming services have been out of control for many years, eventually you hit a breaking point and want to cancel them all. I don't think anyone would mind watching a few ads during their content if it meant one stable price for the platform, unlimited accounts, and access to all quaity formats. That sounds pretty fair to me actually, everyone still gets paid and the customers get the content they want. Instead we're forced to believe it's normal to have the rug pulled out from our feet! You pay for a subscripition, then they want extra money for content packages, extra money for "no ads", extra money for better video and audio quality, extra money for more users, and then every 9 months they raise the prices for everything by a few dollars and remove more features away!!
This cycle of charging more for less is nothing new sadly and won't go away anytime soon. Take back your media by self hosting with Jellyfin instead. You can do this multiple ways but we will make this guide super simple so anyone can follow along without having to purchase too many things. For this guide you won't need to worry about setting up a NAS or anything crazy you will simply need these below, I will guide you through setting everything up so don't skip ahead!
- PC (desktop, laptop, windows, macos, linux, it doesn't matter)
- Buffalo BRXL-PUS6U3B (on microcenter's website it's called Mediastation 6X Portable BDXL Blu-Ray Writer with M-Disc Support)
- Jellyfin downloaded onto your machine
- Makemkv or Handbrake downloaded onto your machine (I use makemkv so you should use that for ease of following along)
- SDFtoolFlasher
- LibreDrive
If you have been following along already with my previous guides then you will already have this all setup, if not then please download:
- Homebrew
This command can be ran on macOS, Linux or windows.
/bin/bash -c "$(curl -fsSL https://raw.githubusercontent.com/Homebrew/install/HEAD/install.sh)"
If you run into any issues please use Homebrew to follow their directions. After Homebrew has been installed you can run:
brew install git
If you have issuess:
- Download Git Guide Book
- Git Command Cheat Sheet
- Git - Windows Download Help
- Git - macOS Download Help
- Git - Linux Download Help
Getting Your Buffalo Drive Setup
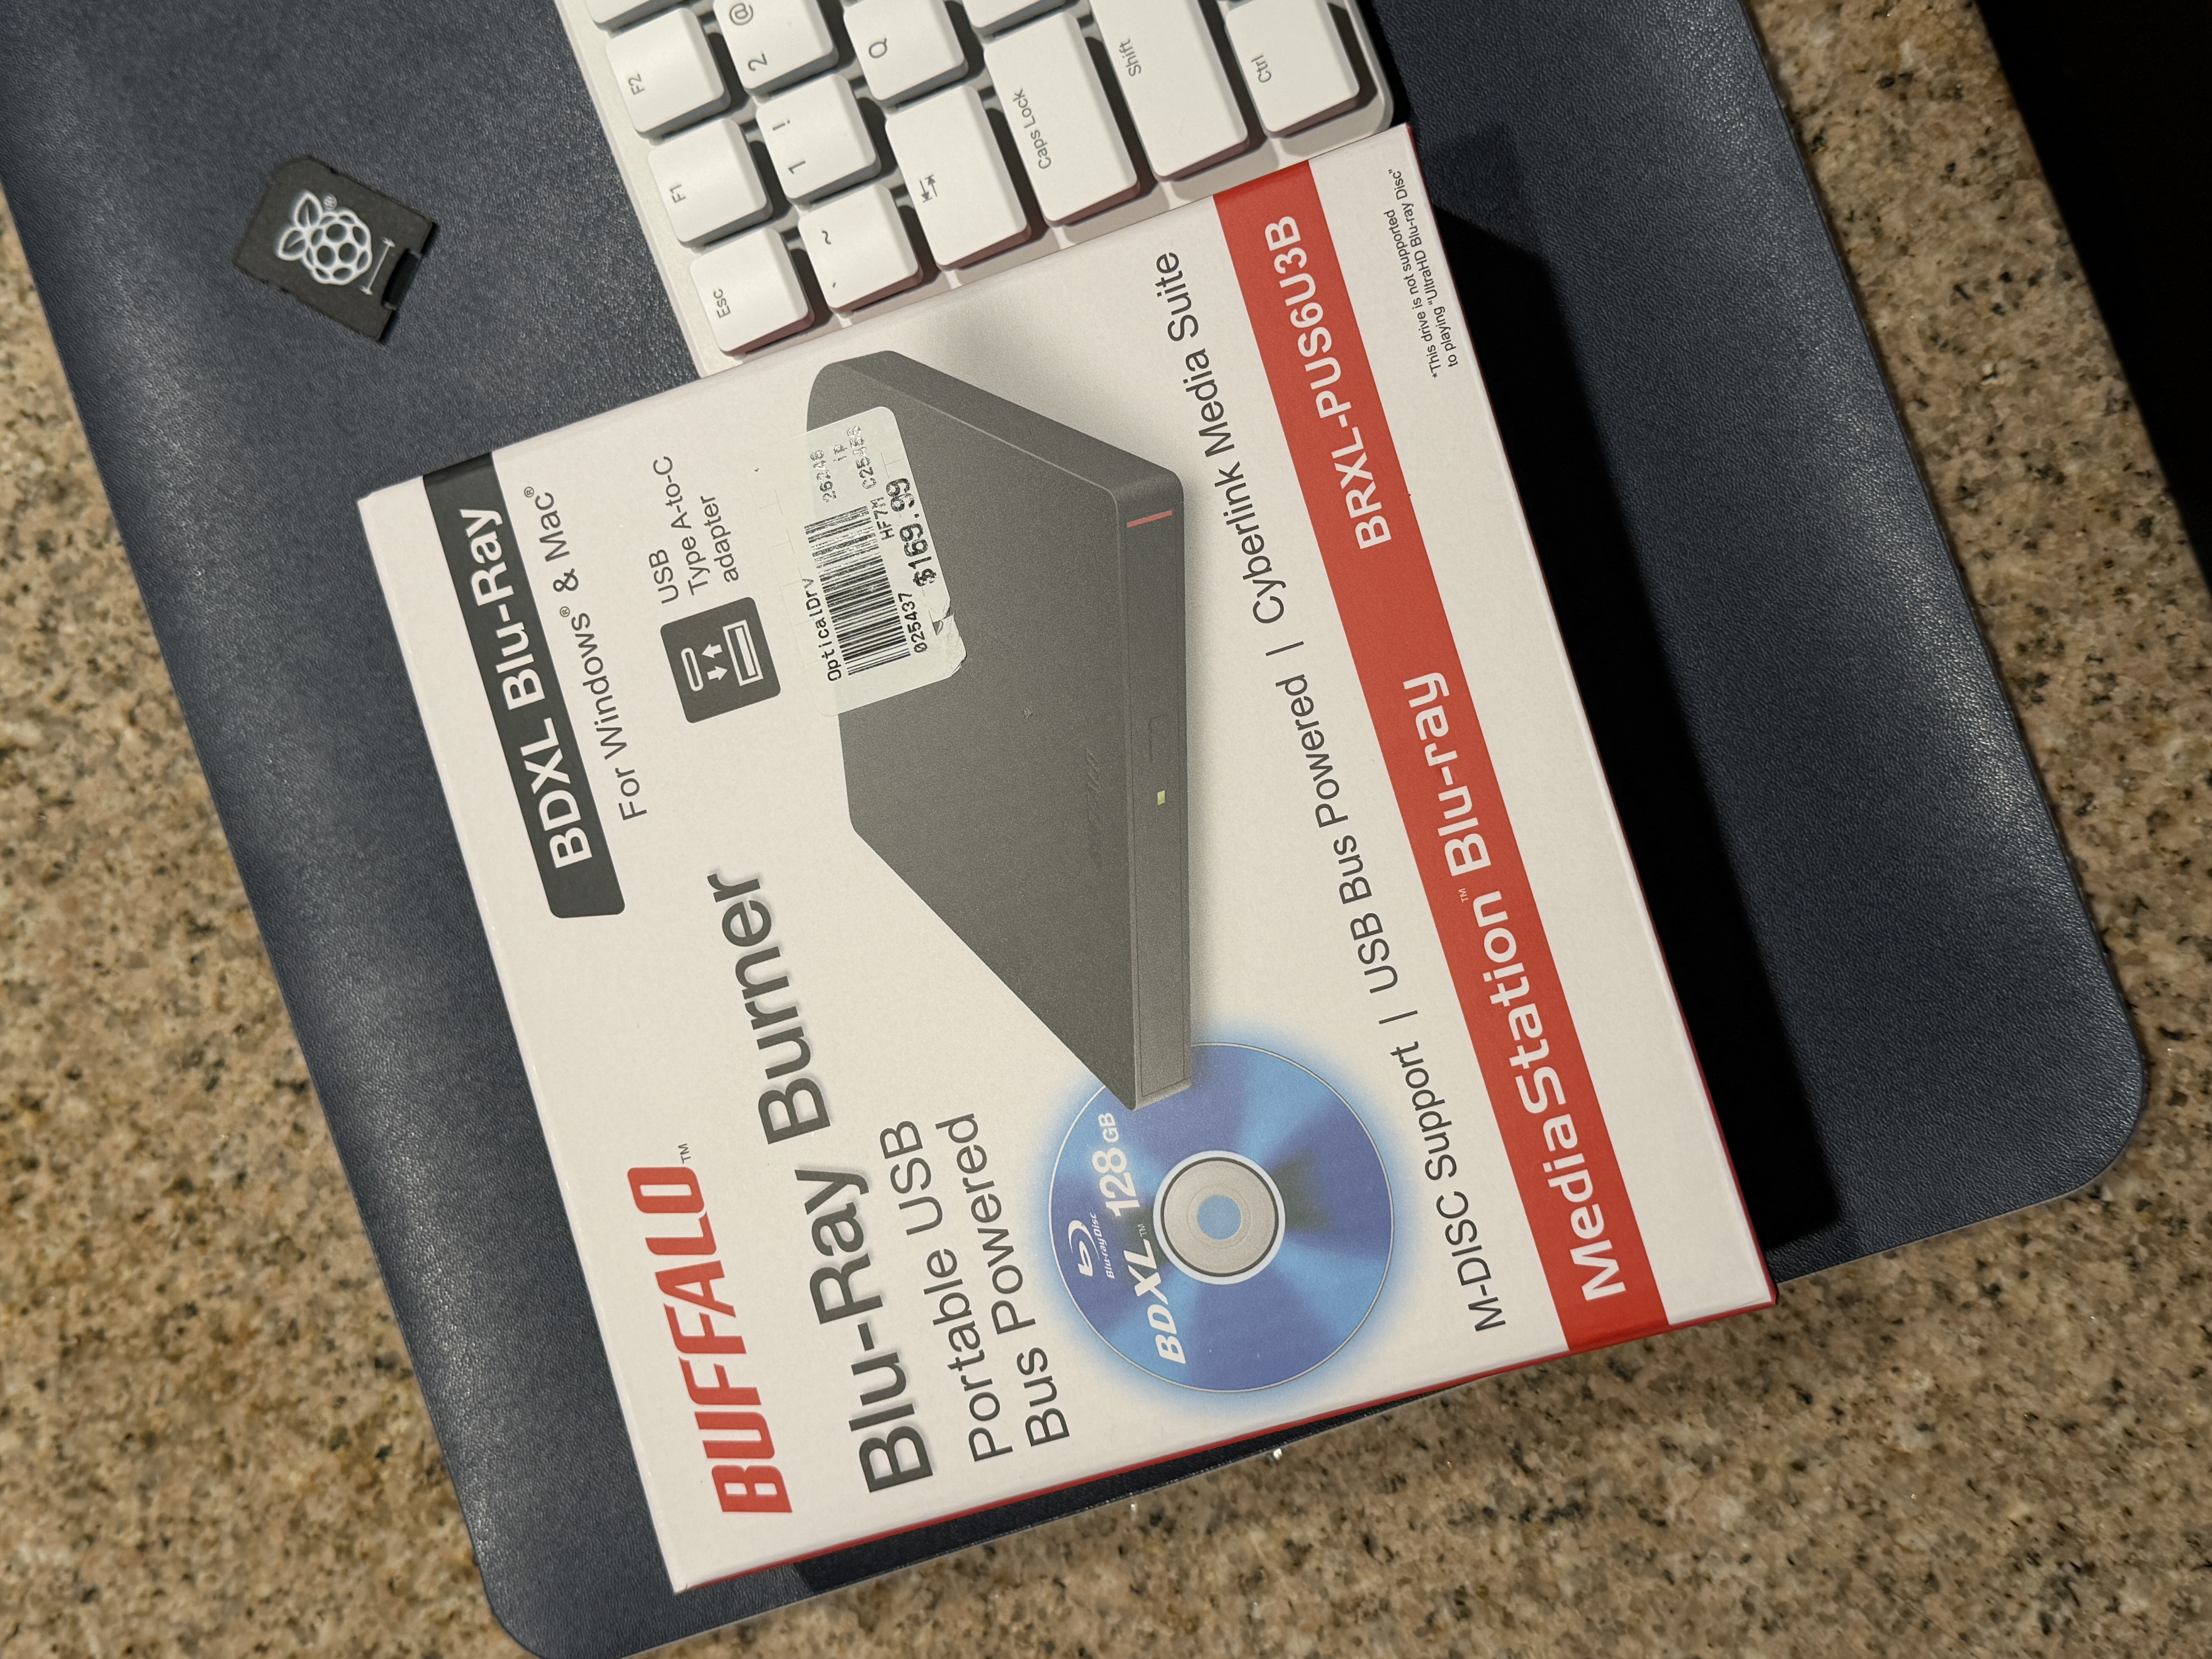
I chose the Buffalo BRXL-PUS6U3B because it is compatible with the LGBU40N, which many media enthusiasts praise due to it's ability to rip all forms of media including Blu ray 4kUHD. Cheaper drives will not be able to do this and even struggle with blu ray. The buffalo drive is a bit pricy I understand but trust me it's worth the money. After purchasing your Buffalo drive, plug the drive into your computer and plug the external usb power source into an outlet nearby. For watching movies you will be fine with powering the drive from your machine, but when ripping movies it can require more power so it's best to do this to prevent any read/write errors. Go to MakeMKV Download Section and download Makemkv. Now we will need to flash the LibreDrive firmware onto the Buffalo drive so you can backup your media with Makemkv. Currently you can backup regular dvd's but if you want to rip blu rays/4k+4kUHD blu rays then you will need LibreDrive flashed, this program communicates directly with the drive using low level SCSI pass through commands.
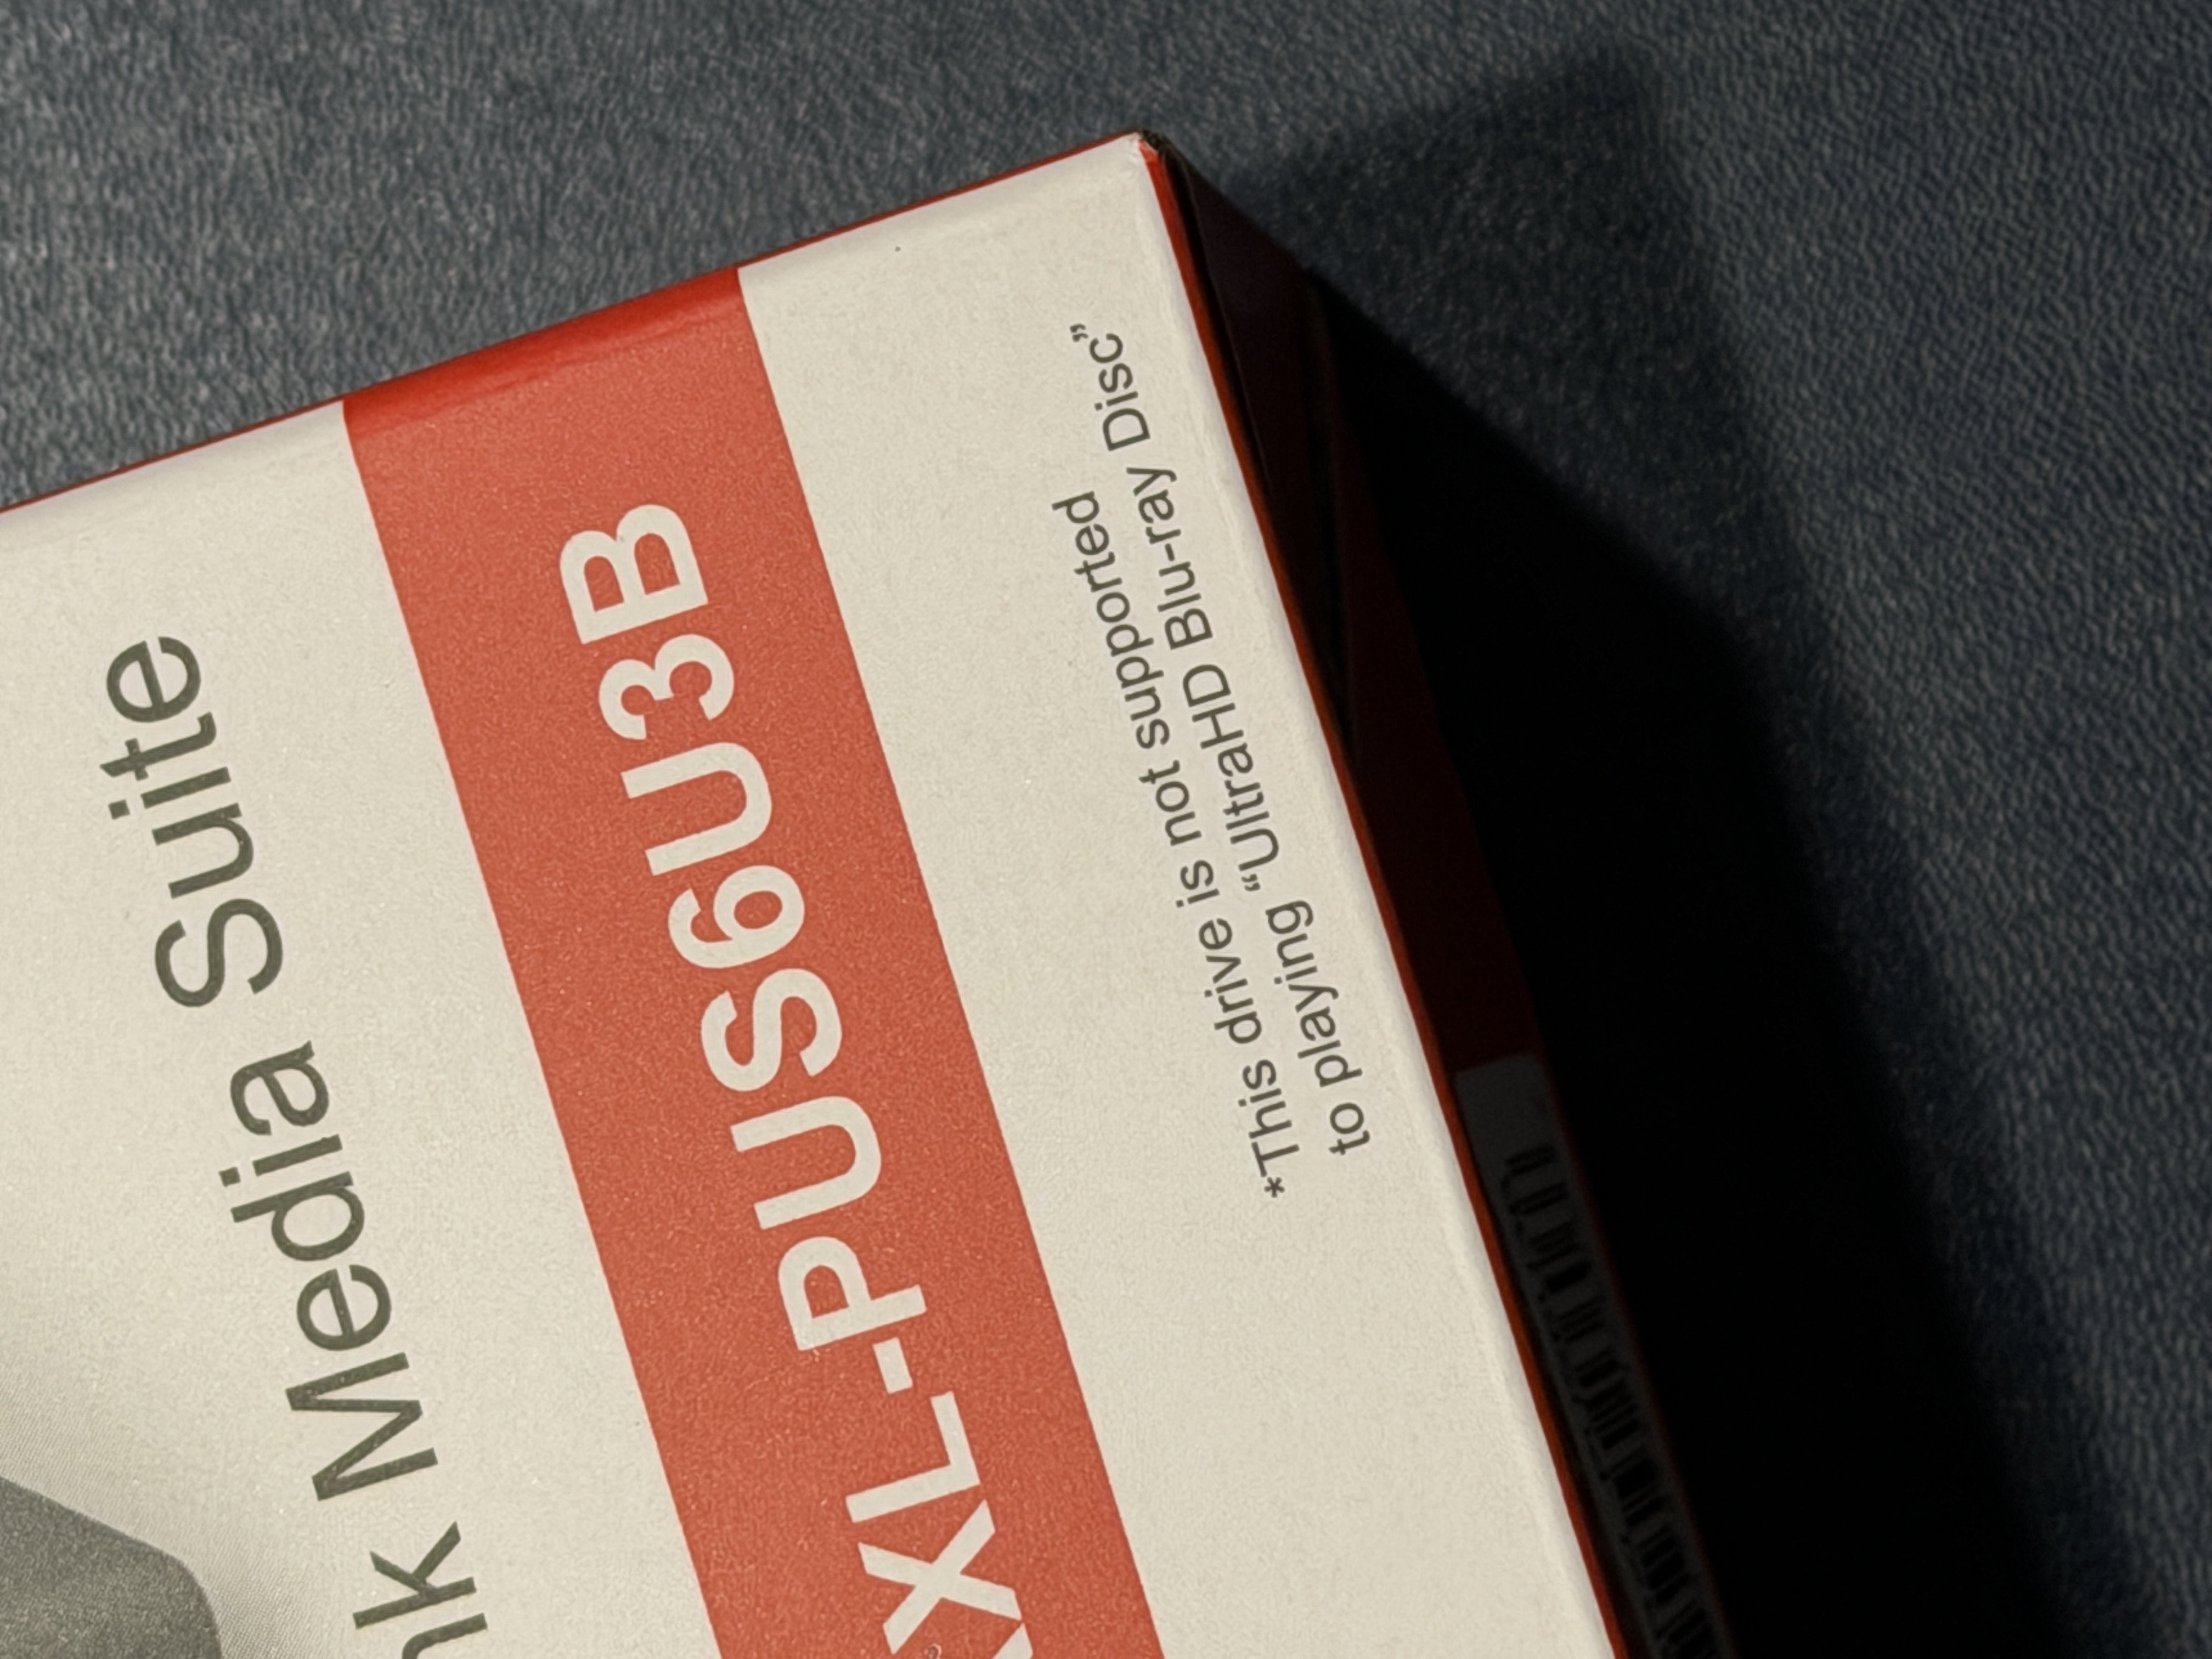
If you notice the box says the drive is not compatible with UHD, don't worry this is false.
To get your MKV beta key go to: MakeMKV Beta and use the provided registration key. The option to purchase the program is currently down so you will need to register your software with the beta key before the expiration period. The maintainer of the project will post the updated key there for you to use.
Download MakeMKV and Flash Firmware
Before we get started with MakeMKV, we will want to get a few things downloaded ahead of time so it's a bit easier for you. Go to MakeMKV SDF Forum and scroll down to "Here is a link to my All You Need Firmware Pack". For windows users, you can also download the latest version of the SDF tool flasher with the link above it. MacOS and Linux won't work. Now download the pack and then unzip it, the firmware you are looking for is in the slim external drives sub folder, called “DE_LG_BU40N_1.03_MK.bin”. Make sure to not accidentally cross flash firmware for an external or interal drive, you will fry that bitch. You wont need the other firmwares in the zip folder you downloaded so you can delete them after moving over the DE_LG_BU40N firmware out of the folder. You will notice there are buffalo specific firmwares but I could not get them to work, the 1.03 firmware for LG works flawlessly for me. Now download sdf.bin from MakeMKV SDF. You can visit this forum for help if you get stuck, MakeMKV Forum Post.
Copy sdf.bin and your DE_LG_BU40N_1.03_MK.bin file into your system's temporary directory folder (/tmp)
Open a terminal shell and navigate to MakeMKV's binary folder:
- macOS:
cd /Applications/MakeMKV.app/Contents/MacOS - Linux: Usually in your PATH or /usr/bin.
- macOS:
Get the optical drive identifier by running this command
./makemkvcon f -l.Flash command (use encrypted method and replace paths/identifiers):
- Encrypted (most 2020+ firmware versions):
./makemkvcon f -d 'YOUR-DRIVE-ID' -f /tmp/sdf.bin rawflash enc -i /tmp/DE_LG_BU40N_1.03_MK.bin- Unencrypted (backup if encrypted doesn't work for whatever reason but it should)
./makemkvcon f -d 'YOUR-DRIVE-ID' -f /tmp/sdf.bin rawflash main -i /tmp/DE_LG_BU40N_1.03_MK.bin
Now power cycle the drive by unplugging it from your machine and external power source, leave it unplugged for a minute and then plug it back it. If you have properly flashed the drive it will display this message when you open MakeMKV, "LibreDrive: Enabled".
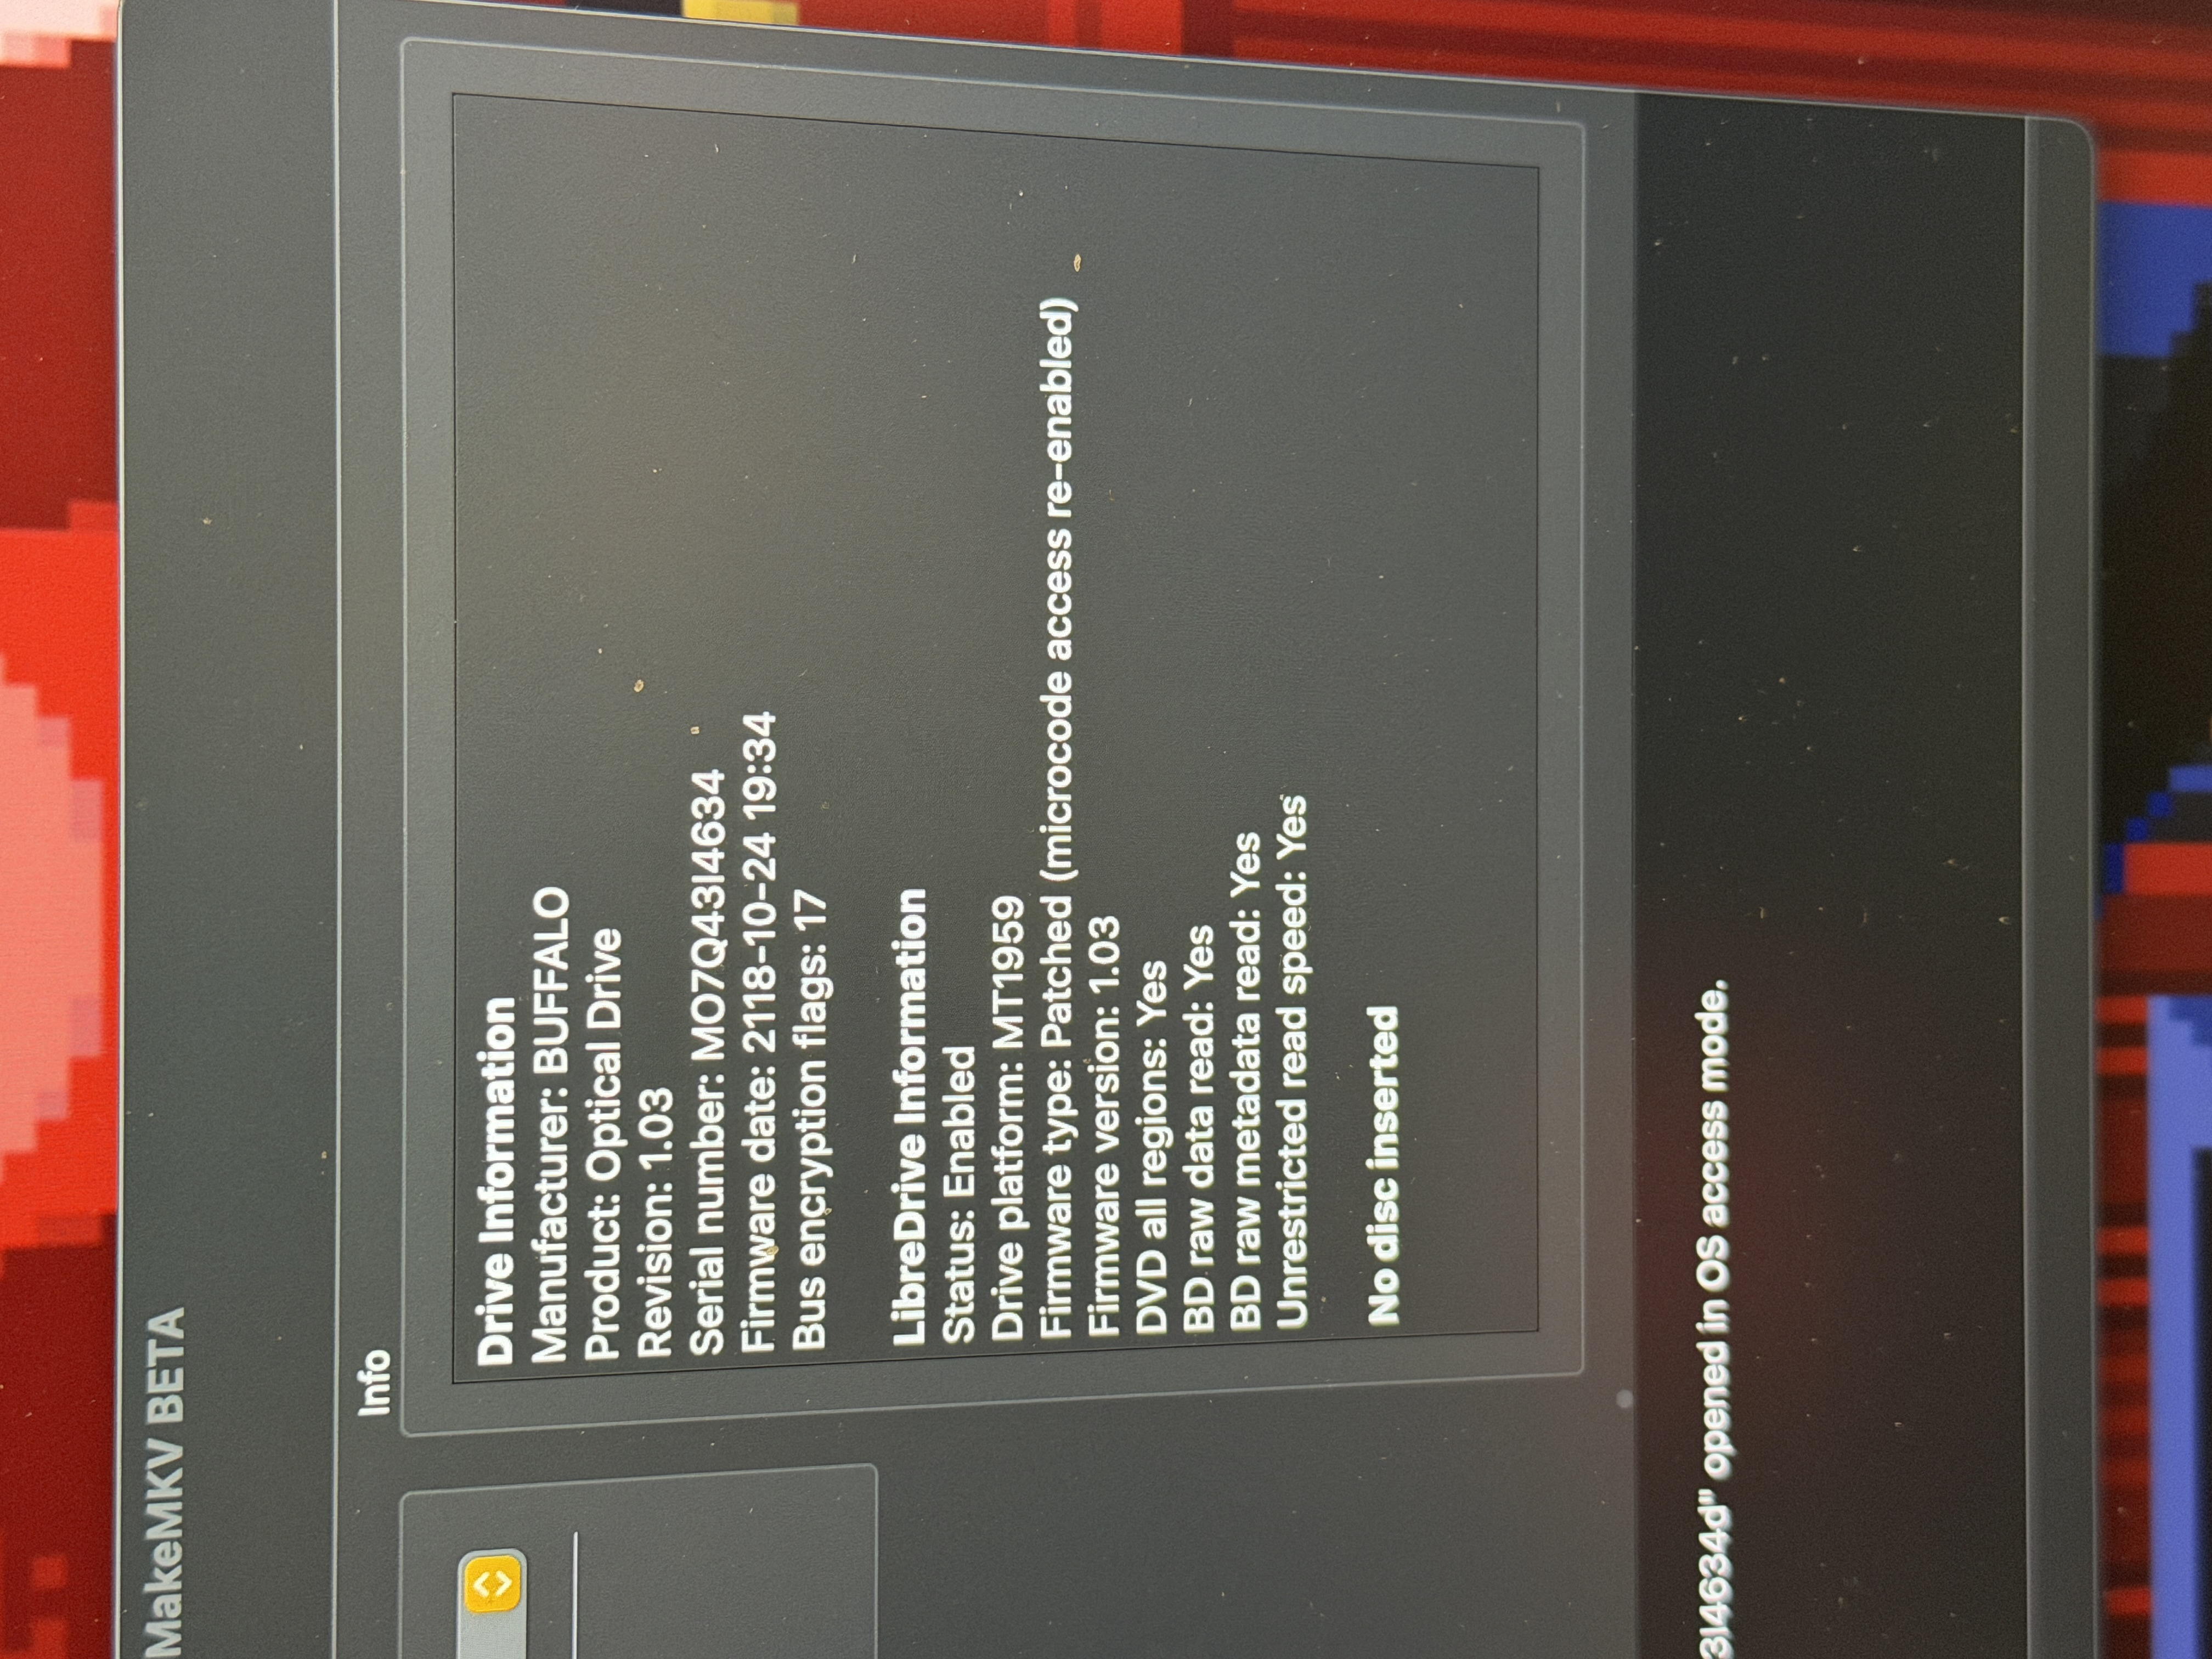
If not, retry again and if that doesn't work then use forum advice/youtube guidance. You might now be wondering, where do we digitally store these movies? Keep reading!
Setting Up Jellyfin and Tailscale(optional)
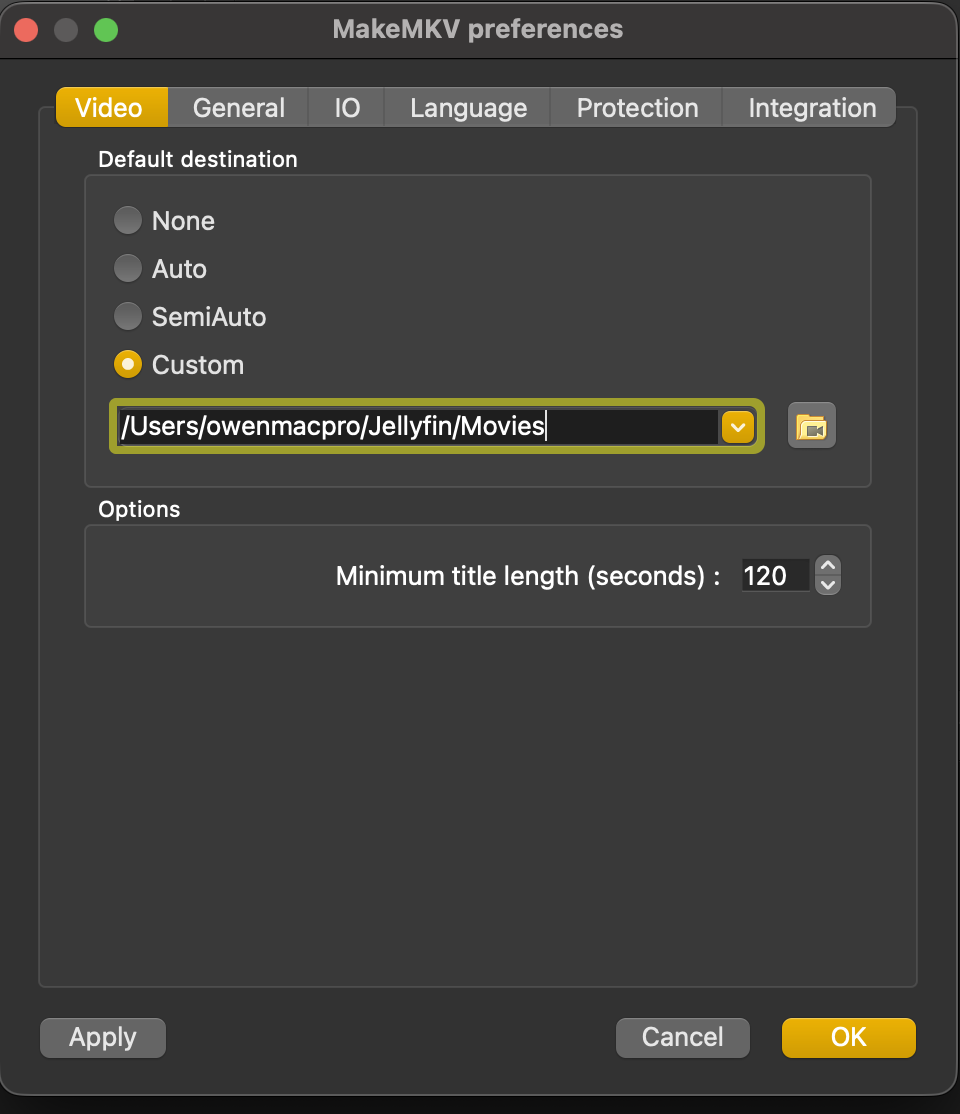
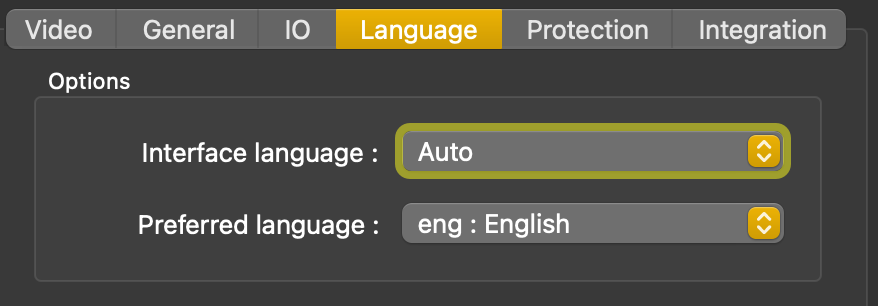
Open the LibreDrive app and open the preferences tab, under the video tab set the minimum title length to 120 seconds so it automatically removes un-needed bullshit so it's not wasting space while keeping all the important metadata to play everything. Then click over to the language tab and set it to your preferred langauge, if you don't do this it will take longer to rip movies and take up more data with the different languages.
Now that you have everything downloaded, pop in a dvd or blu ray into the drive and wait a second for the drive to read it, once the drive has read the disc click on the icon to start ripping. Please note, I don't currently have the drive plugged into my computer as I type this blog post but this is what it looks like.
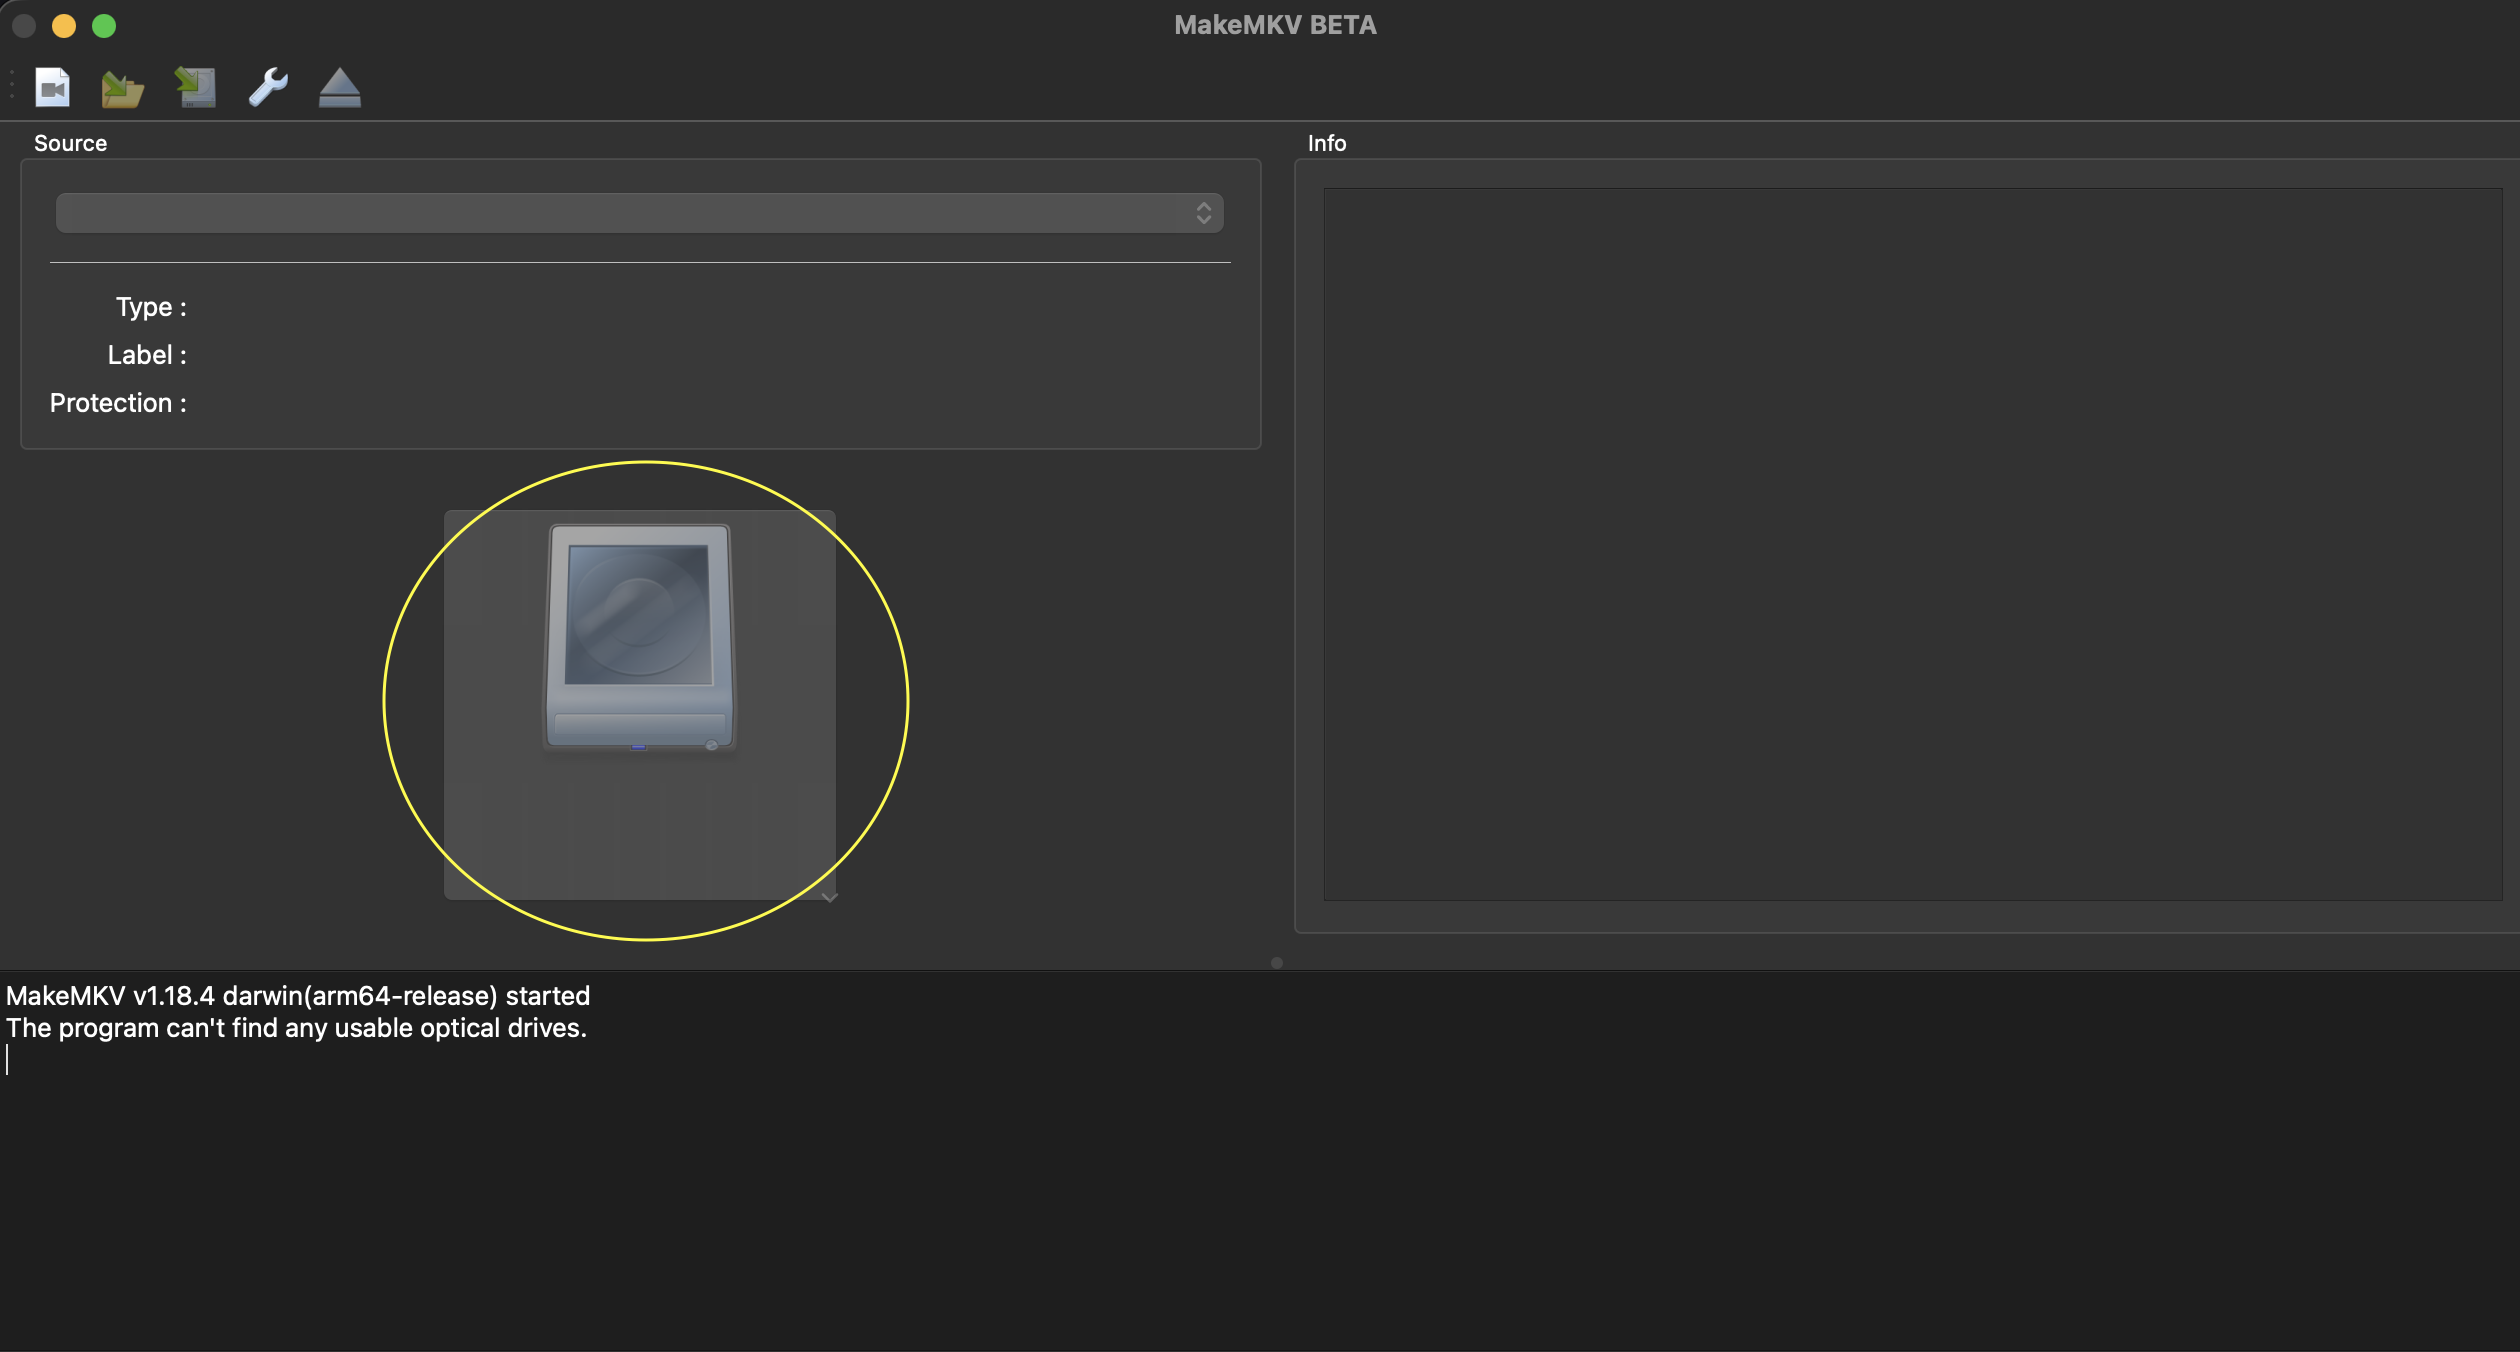
It will load for a second, confirm your desired location of where to save the .mkv files, give the drive read/write permissions and then you just need to wait for it to complete ripping. While waiting for your movies and or tv shows to rip, create some folders to save the new files to. We will also have to rename them so Jellyfin can read the files correctly for all the metadata.
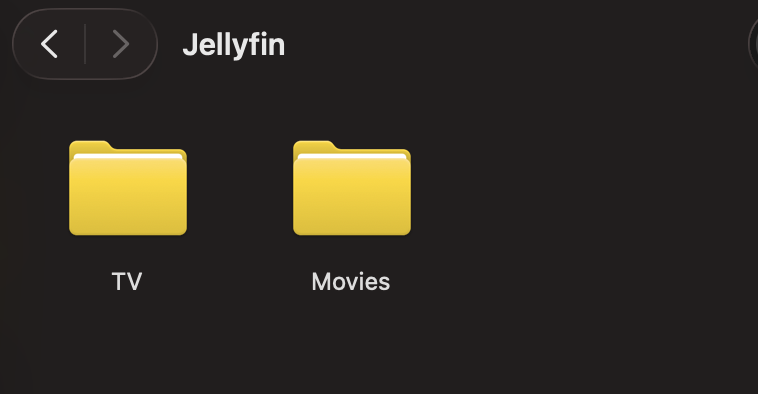
Create a main directory titled Jellyfin and sub directories for tv/movies/books/music:
mkdir Jellyfin
cd
cd Jellyfin
Now create the sub directories, I only have TV shows and movies downloaded so my example only includes those:
mkdir TV
mkdir Movies
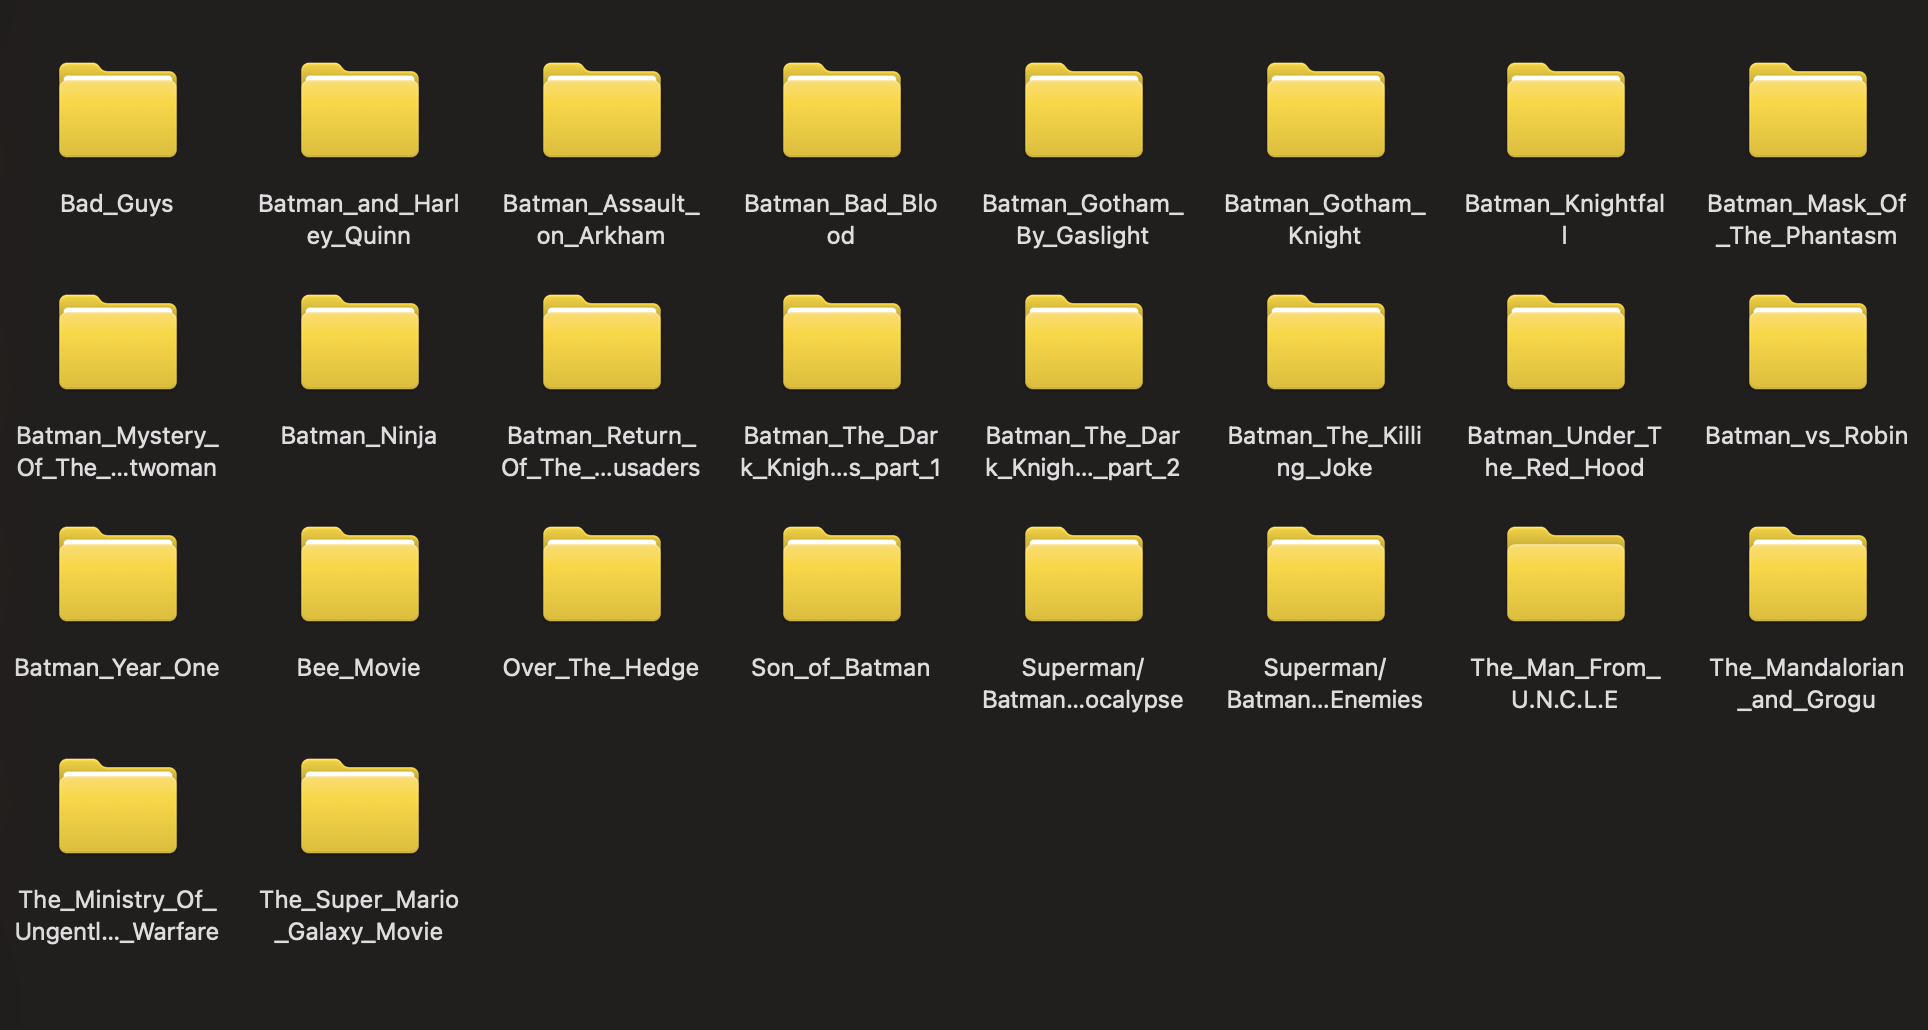
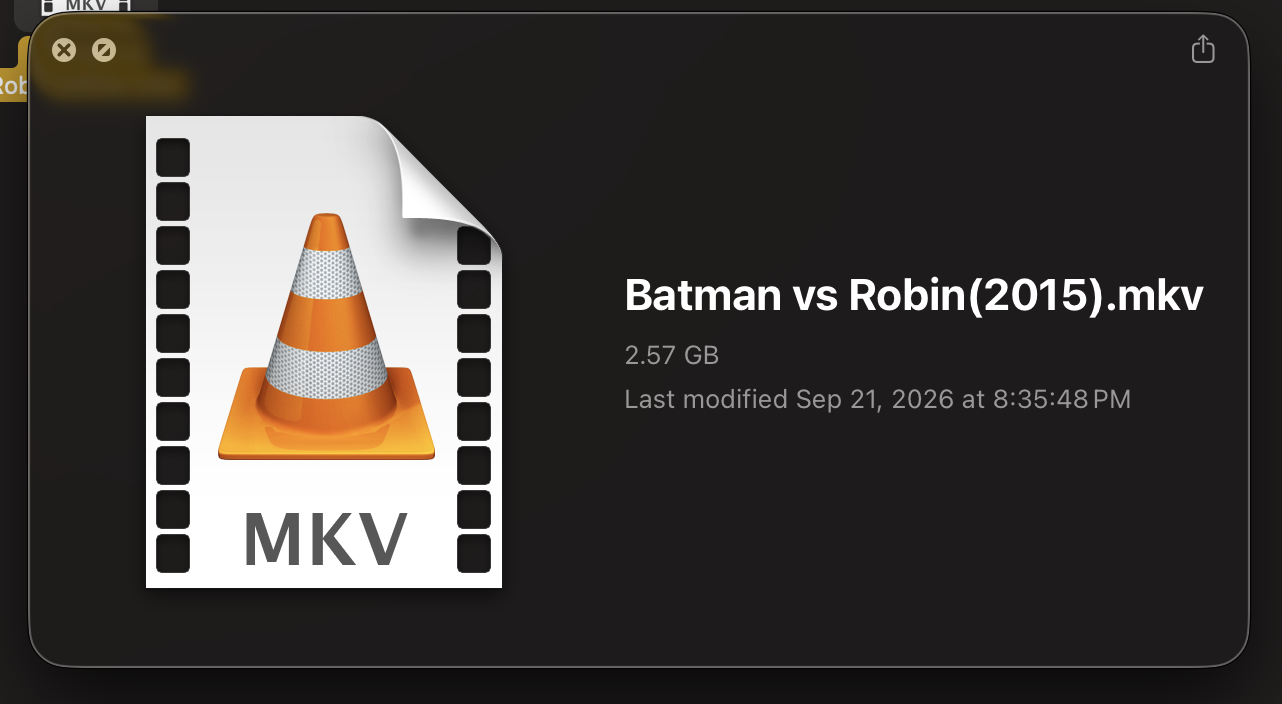
You must keep a consistent naming structure for movies and tv shows. For example, if you rip your batman vs robin dvd it will be a folder within the movies sub directory titled Batman_Vs_Robin and inside the batman vs robin folder, the .mkv file will be titled Batman Vs Robin(2015).mkv. The year release naming scheme is added to prevent mixup of meta data if movies or tv shows have the same names.
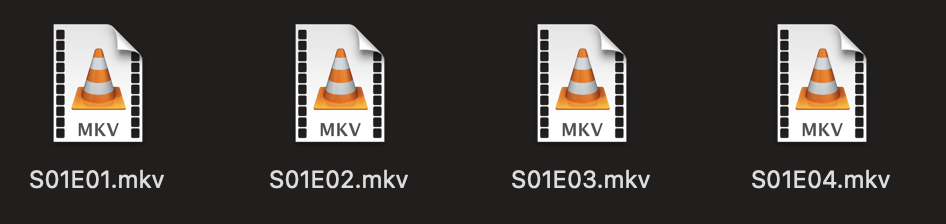
But if you download a tv show for example, it will be titled Batman_Beyond and the .mkv files will be titled S01E01 etc. etc.
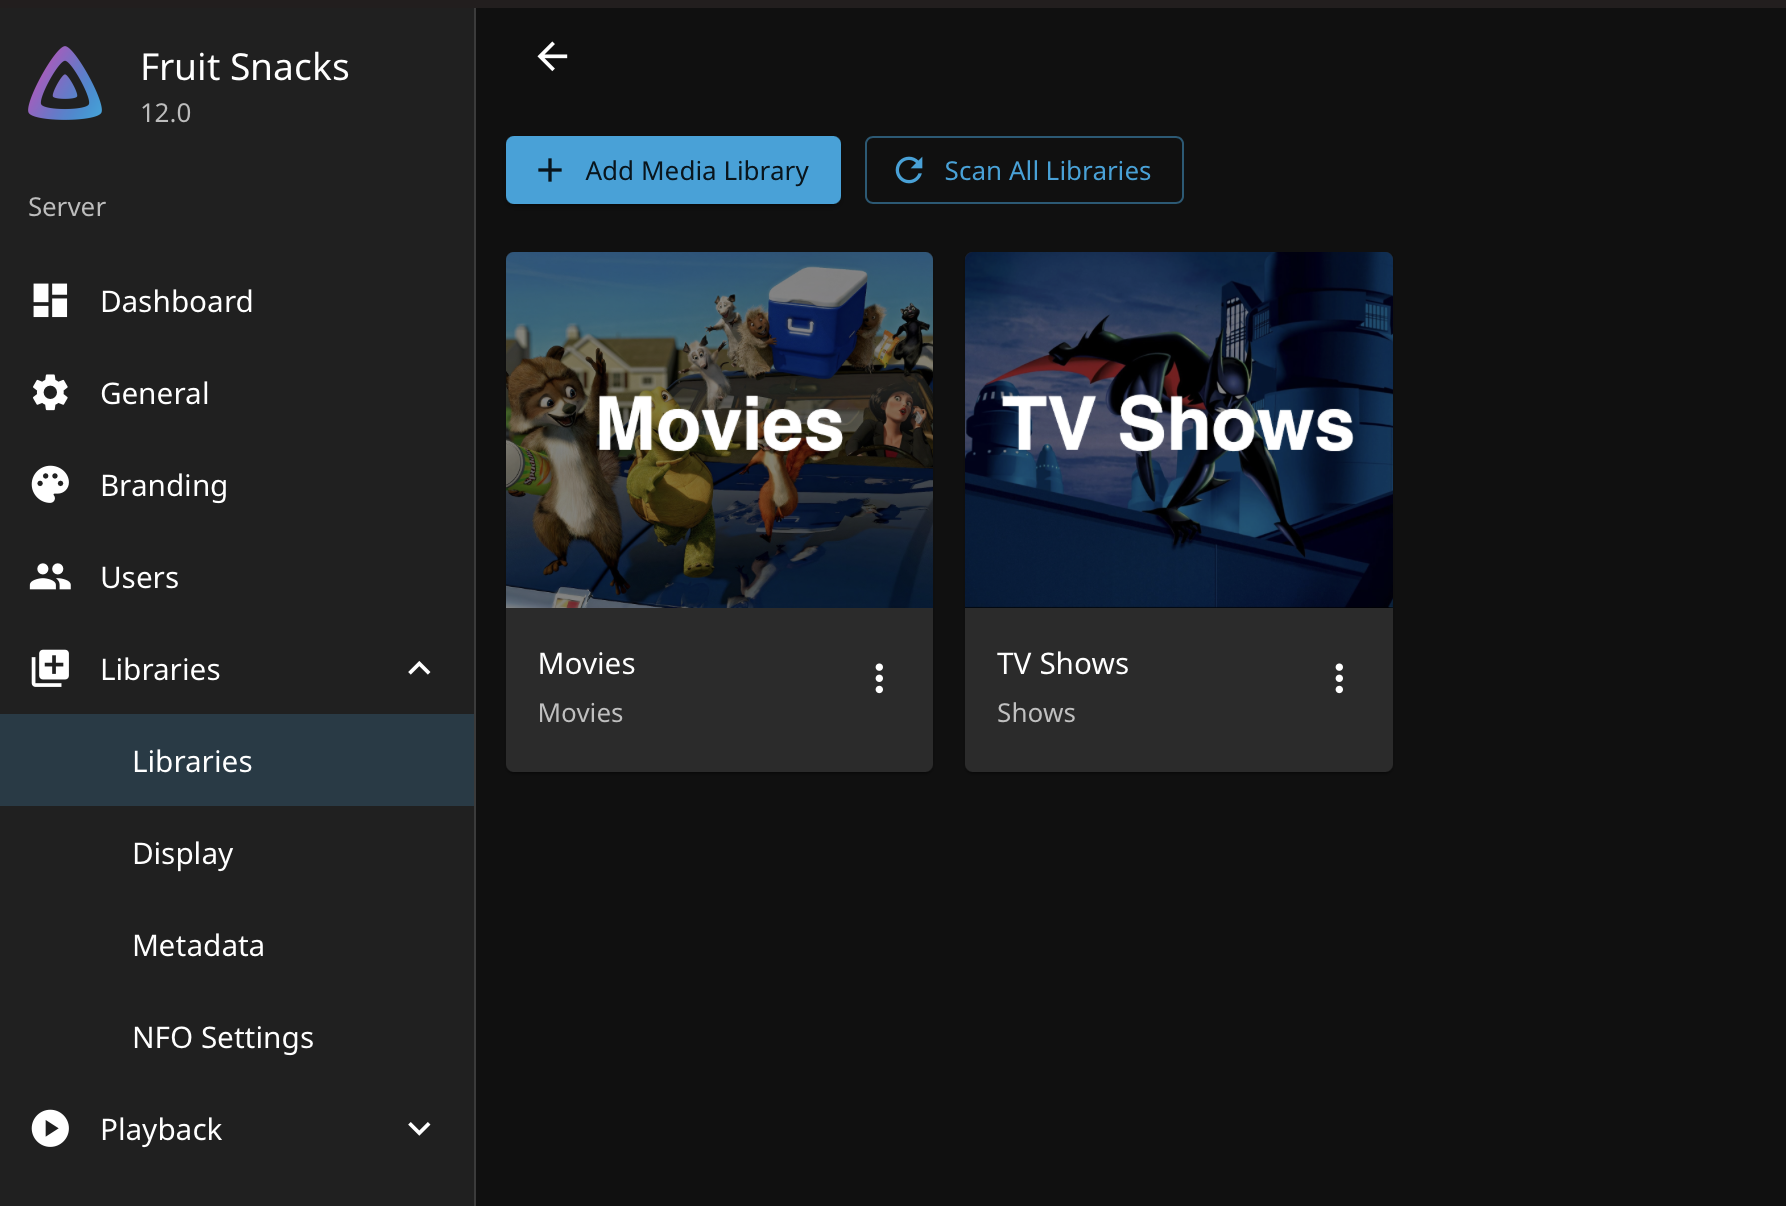
Now open up Jellyfin, assuming you have setup your server and created your account, go to your settings dashboard and open libraries to add your TV and Movie libraries you created.
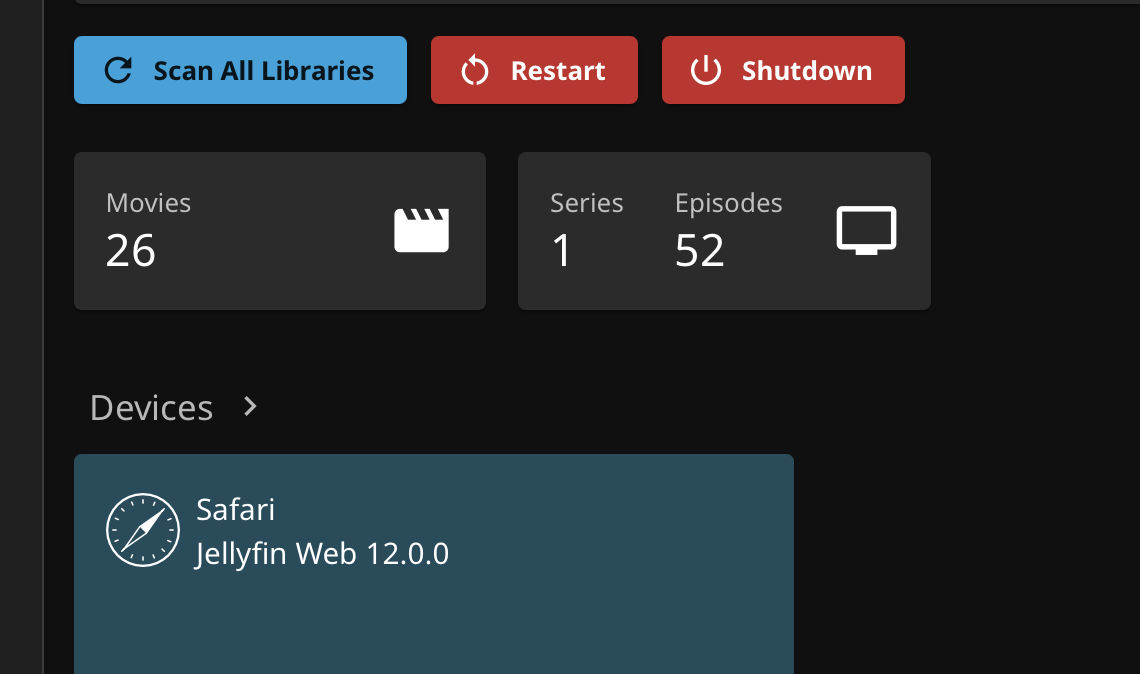
Go back to the main dashboard landing page, scan all libraries and wait, then hit restart server and close out of Jellyfin. Open up Jellyfin again after 30 seconds and watch your content appear. Jellyfin has support for pretty much everything so now you can sign into jellyfin off your laptop, apple tv, iphone, android, samsung, google tv, amazon firestick, whatever you want. For apple users it's probably called SwiftinIOS but you can check the official list here Jellyfin Clients .
If you are more comfortable with tech, you can setup tailscale from your machine and add all your devices to your tailnet so you can access your Jellyfin server even when away from home. Since Jellyfin is a locally hosted server, you can only access your server from the same connection. With tailscale this gives you the power to create a remote LAN essentially, giving you access to your machine's home network even from another device on a seperate network. The only downfall about this since it's not a NAS, if you don't have a spare desktop computer laying around with sufficient RAM/storage then you will have to use a laptop and leave it turned on all day while you are gone. I recommend at least 32GB of RAM to cover the overhead from the OS, Jellyfin, and all the connections drawing stress and making requests to your server. I recommend around 2 TB of storage for light users, if you are more serious then you should probably setup a NAS with a RAID5 hard drive configuration and PCIe NVMe m.2 ssd's. Movies and TV shows can eat up a shit ton of memory especially 4k and 4kUHD. I recommend blu ray because it's the best middle ground of content quality and storage size.
Want to check out more of my stuff?
You can go to:
Thanks!