Blog Post 005 - Building a Portable SSD That Transfers At 40gbps!!
NVMe PCIe M.2 Storage Offers The Portability Without The Performance Compromise
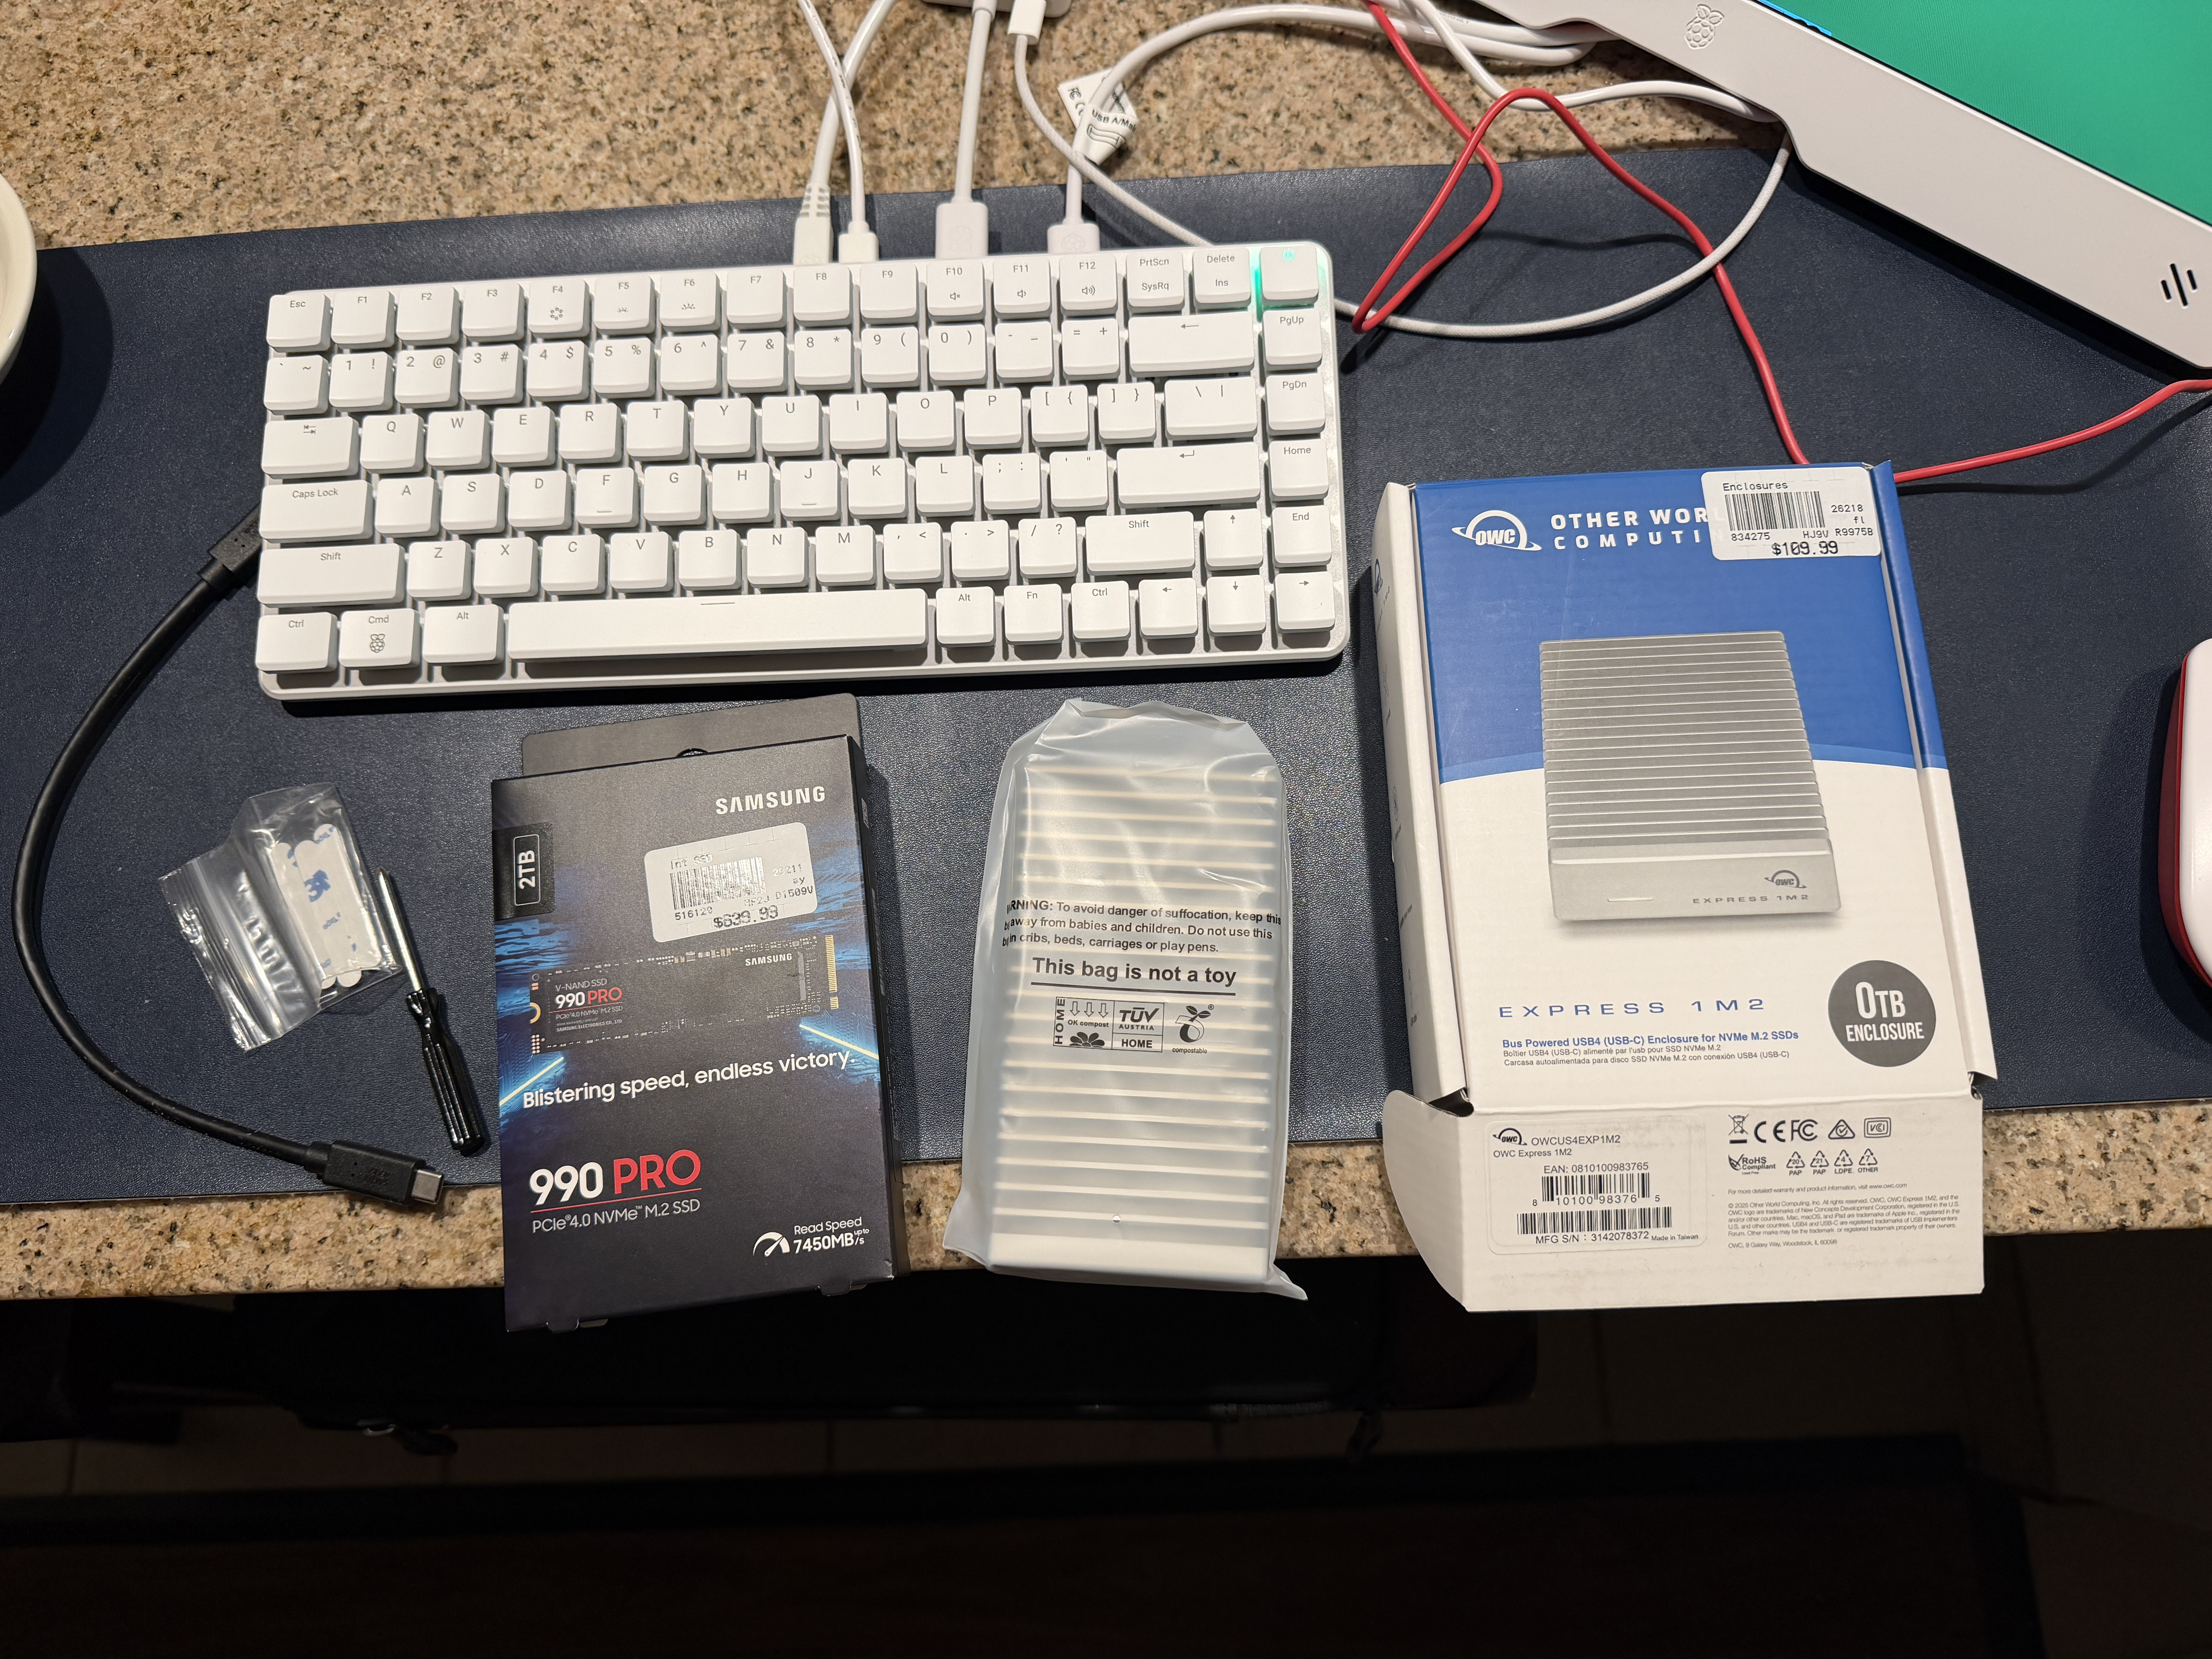
If you're looking to upgrade your storage situation while saving a little money you should look into NVMe PCIe M.2 storage. There are multiple generations and it can get confusing so I'll do a deep into into all that in another blog post. For now we will focus mainly on my latest project and what you will need to follow along with me if you're interested.
Currently Microcenter is having a deal which is why I decided to buy the SSD and the enclosure. If you read my previous blog post, you will see I have setup a Jellyfin server and I am using my laptop to self host the server which isn't ideal but I need to save up for a NAS first lol. Since I'm using my laptop I wanted to have extra space that I can carry around with me, nobody likes to run out of storage and self hosting can take up a lot of space! Portable SSD's are slow because everyone assumes that is the standard. If you want portability then you scarifice performance. WRONG! This scacrifices nothing and in fact, it reads and writes faster than anything else on market while maintaining the portability.
What You'll Need
- Samsung 990PRO 2TB
Do I have to buy the same SSD?
Not at all! If you find a better deal or don't need 2TB then feel free to swap it out. Just keep in mind it has to be gen 4 to get the full 40gbps speed and I can't verify the reliaility of other brands. Many people praise Samsung for their reliability and this particular model will be compatible with the UGREEN DXP2800 NAS I plan to purchase later on in the future. That's the beauty of this project, the storage is modular unlike other brands!
- OWC Express 1M2 USB4 Enclosure
I decided to purchase the Samsung 990PRO 2TB (no heatsink) and the OWC Express 1M2 USB4 enclosure, you HAVE to use the non-heat sink variant for your SSD. The OWC case includes the proper thermal pads to make full contact with the board and the SSD with the case. Since the entire case is aluminum with a radiator design this allows for passive cooling with a quiet experience. No fans needed! If you feel the case getting warm don't be worried that means it's actively pulling heat away from the internals and to the aluminum body. This means the passive cooling system is working! The case itself acts as the heat sink which is why it's not needed and because there isn't enough space for it. It'll save you money that way too. OWC includes everything you will need for your kit, you literally only have to purchase 2 things and I would move fast because the storage I choose is currently on sale and probably going to shoot back up soon. If you were hoping for the downfall of AI data center pricing on PC parts then keep hoping because it's only supposed to get worse.
Tips and Tricks To Assembly
Assembly of the entire storage device is super simple and straight forward. Follow these steps below to get yours up and running in less than 3 minutes!
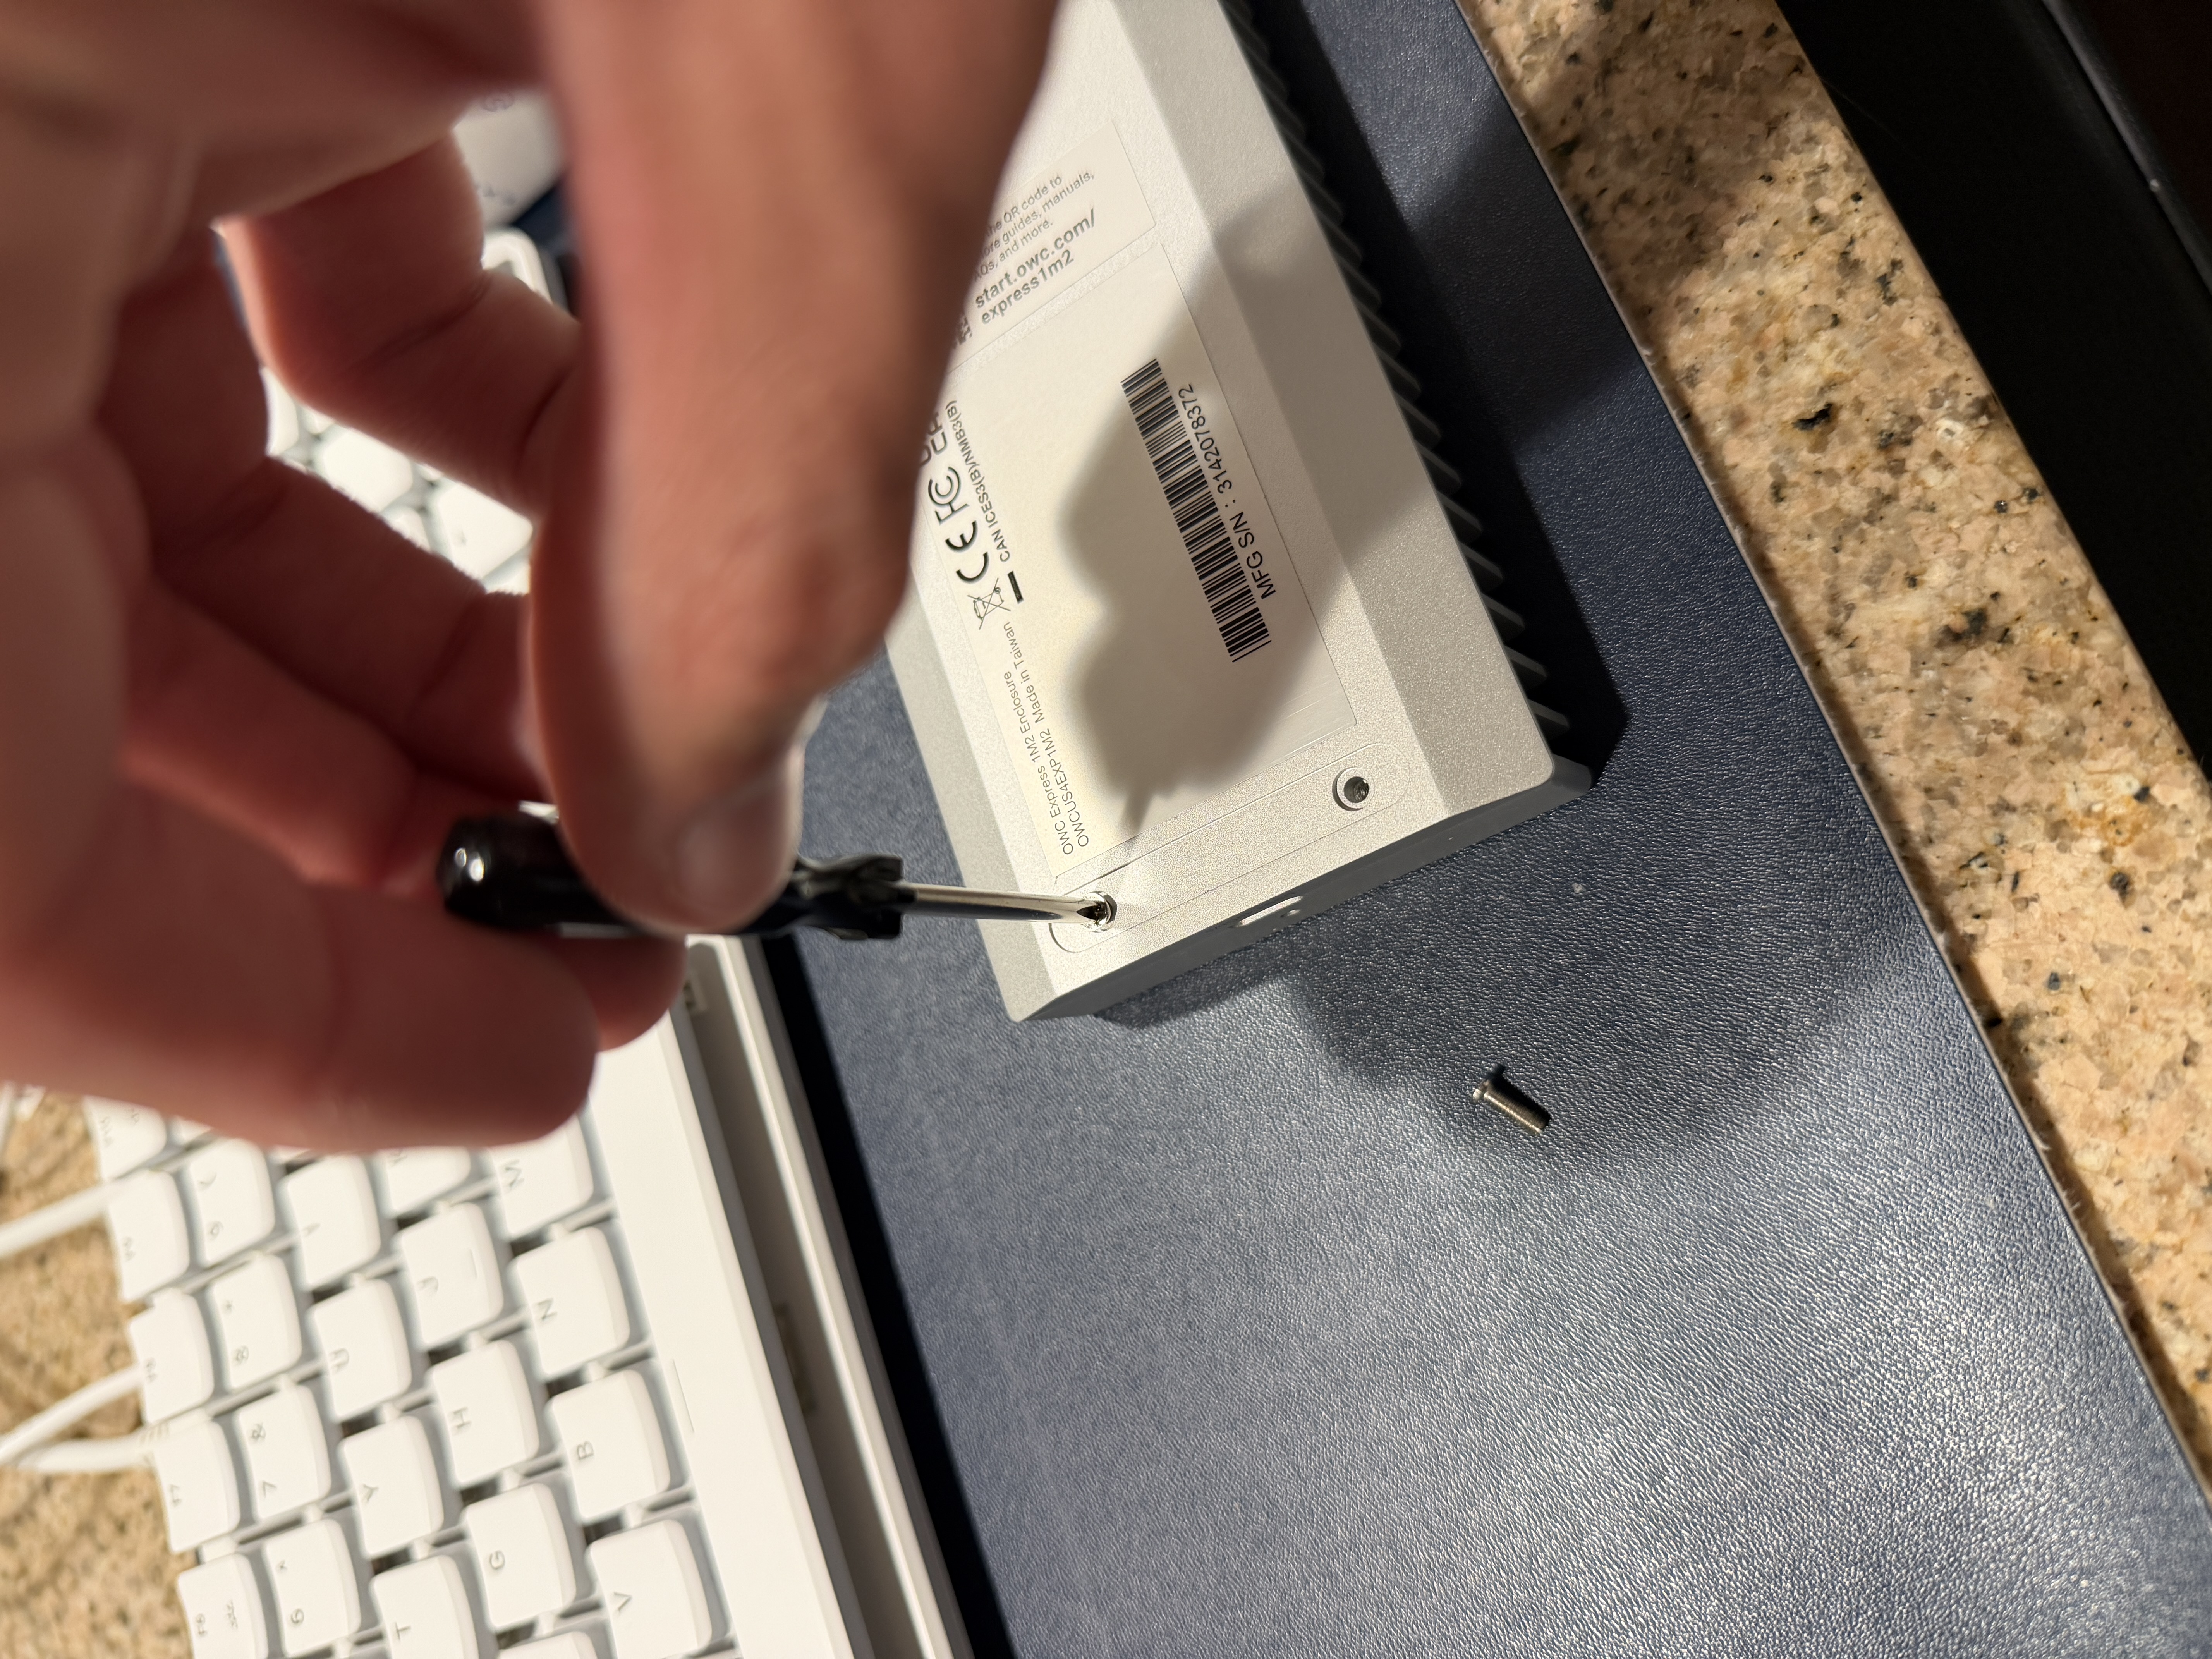
- Place the enclosure down and unscrew the 2 screws with the provided screwdriver:
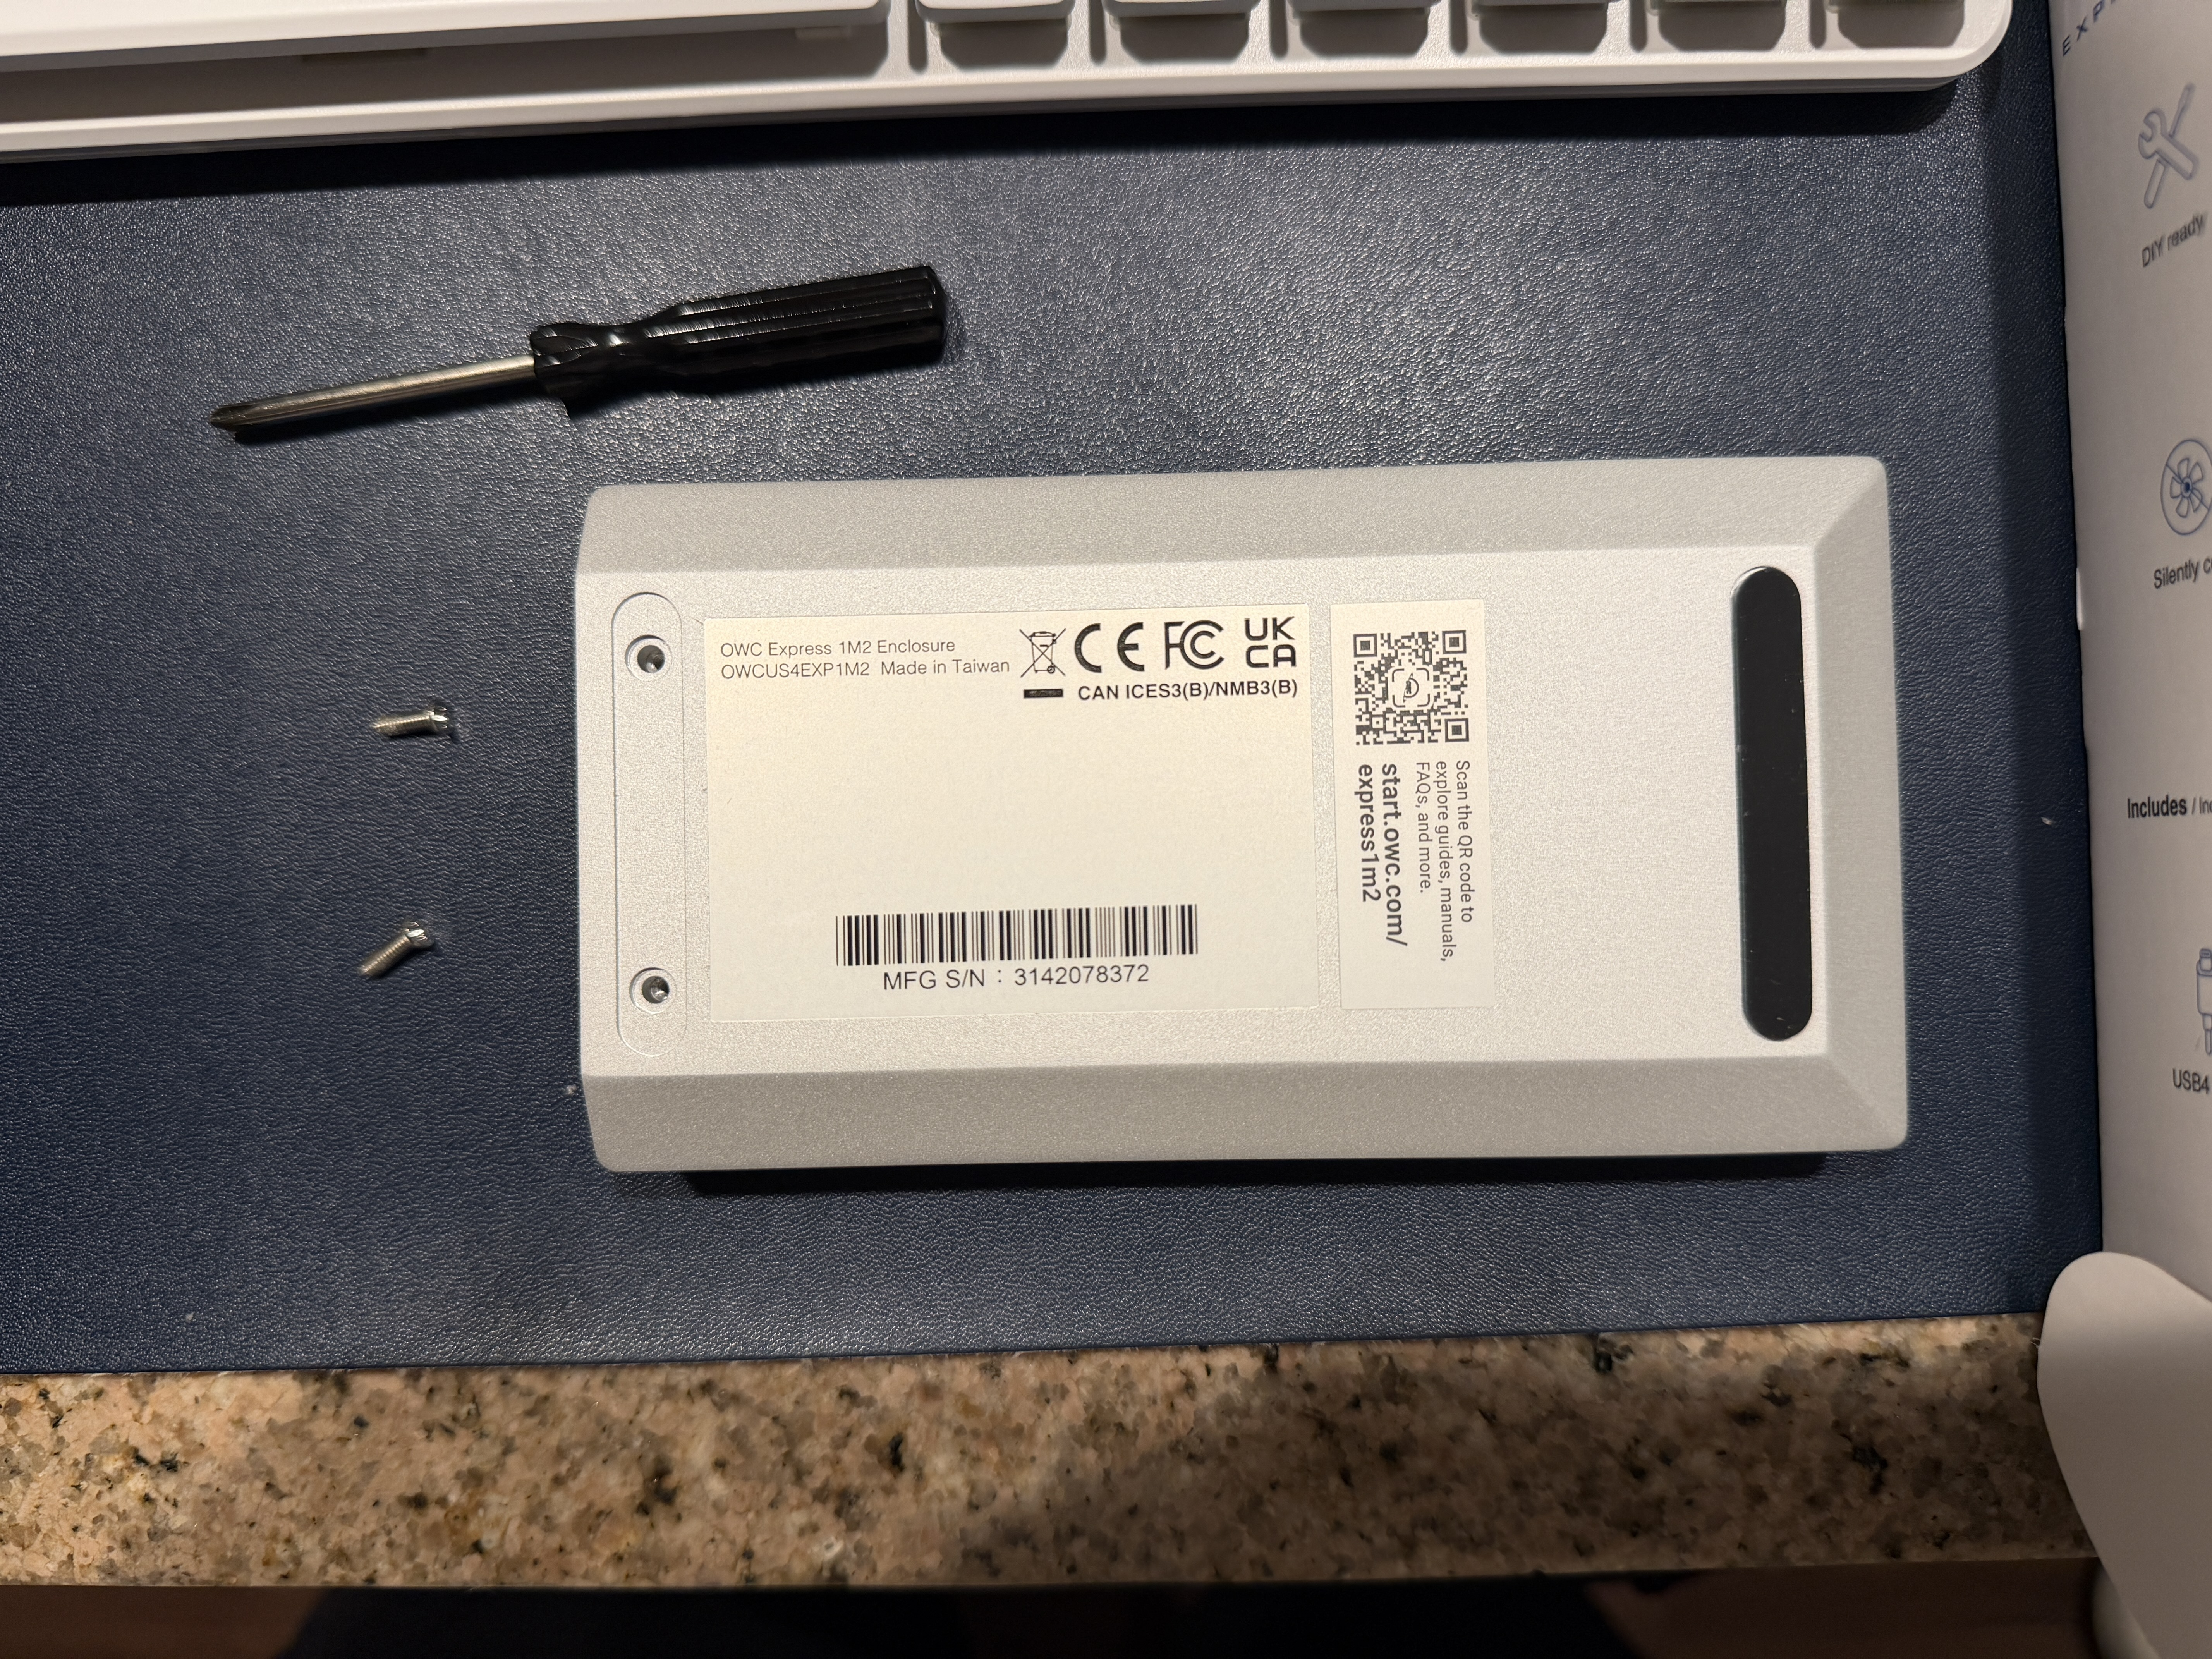
Slide the enclosure top half towards the left, it should shift over a few millimeters, you can lift up the top half now:
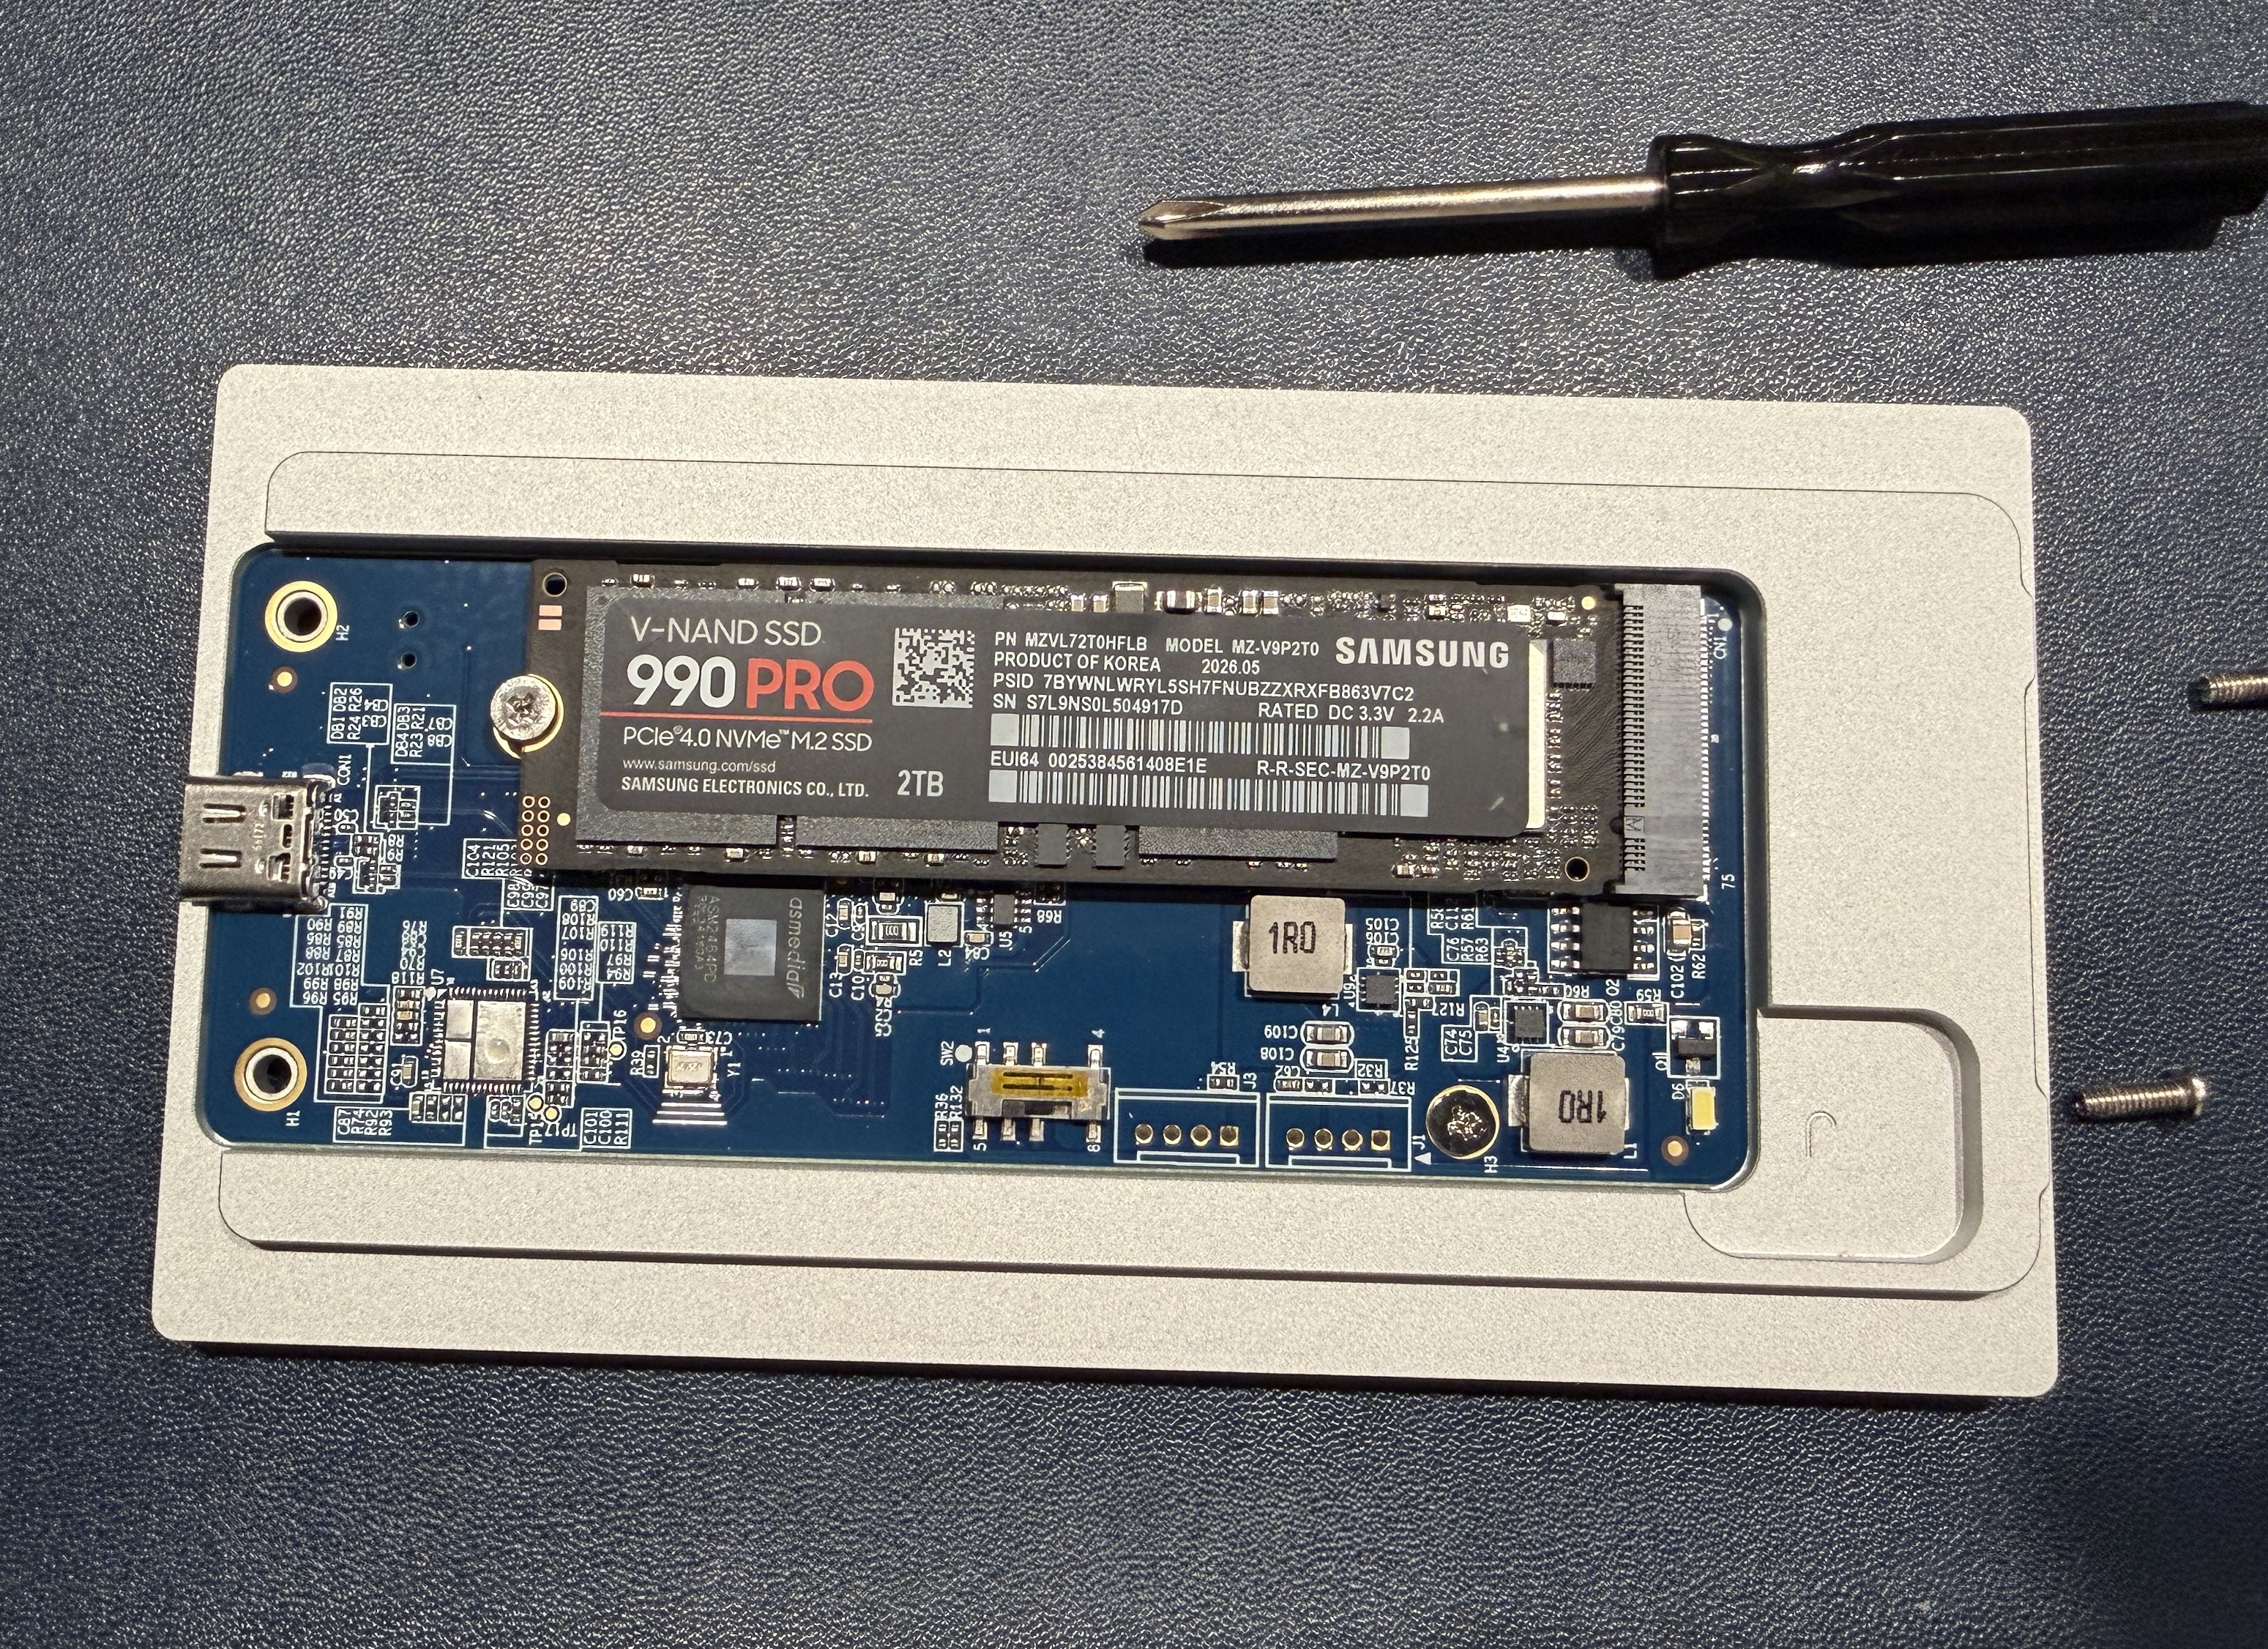
Unscrew the mounting screw for the 2280 slot, if you are using a different SSD version you can move the mounting point to the correct position and then continue:
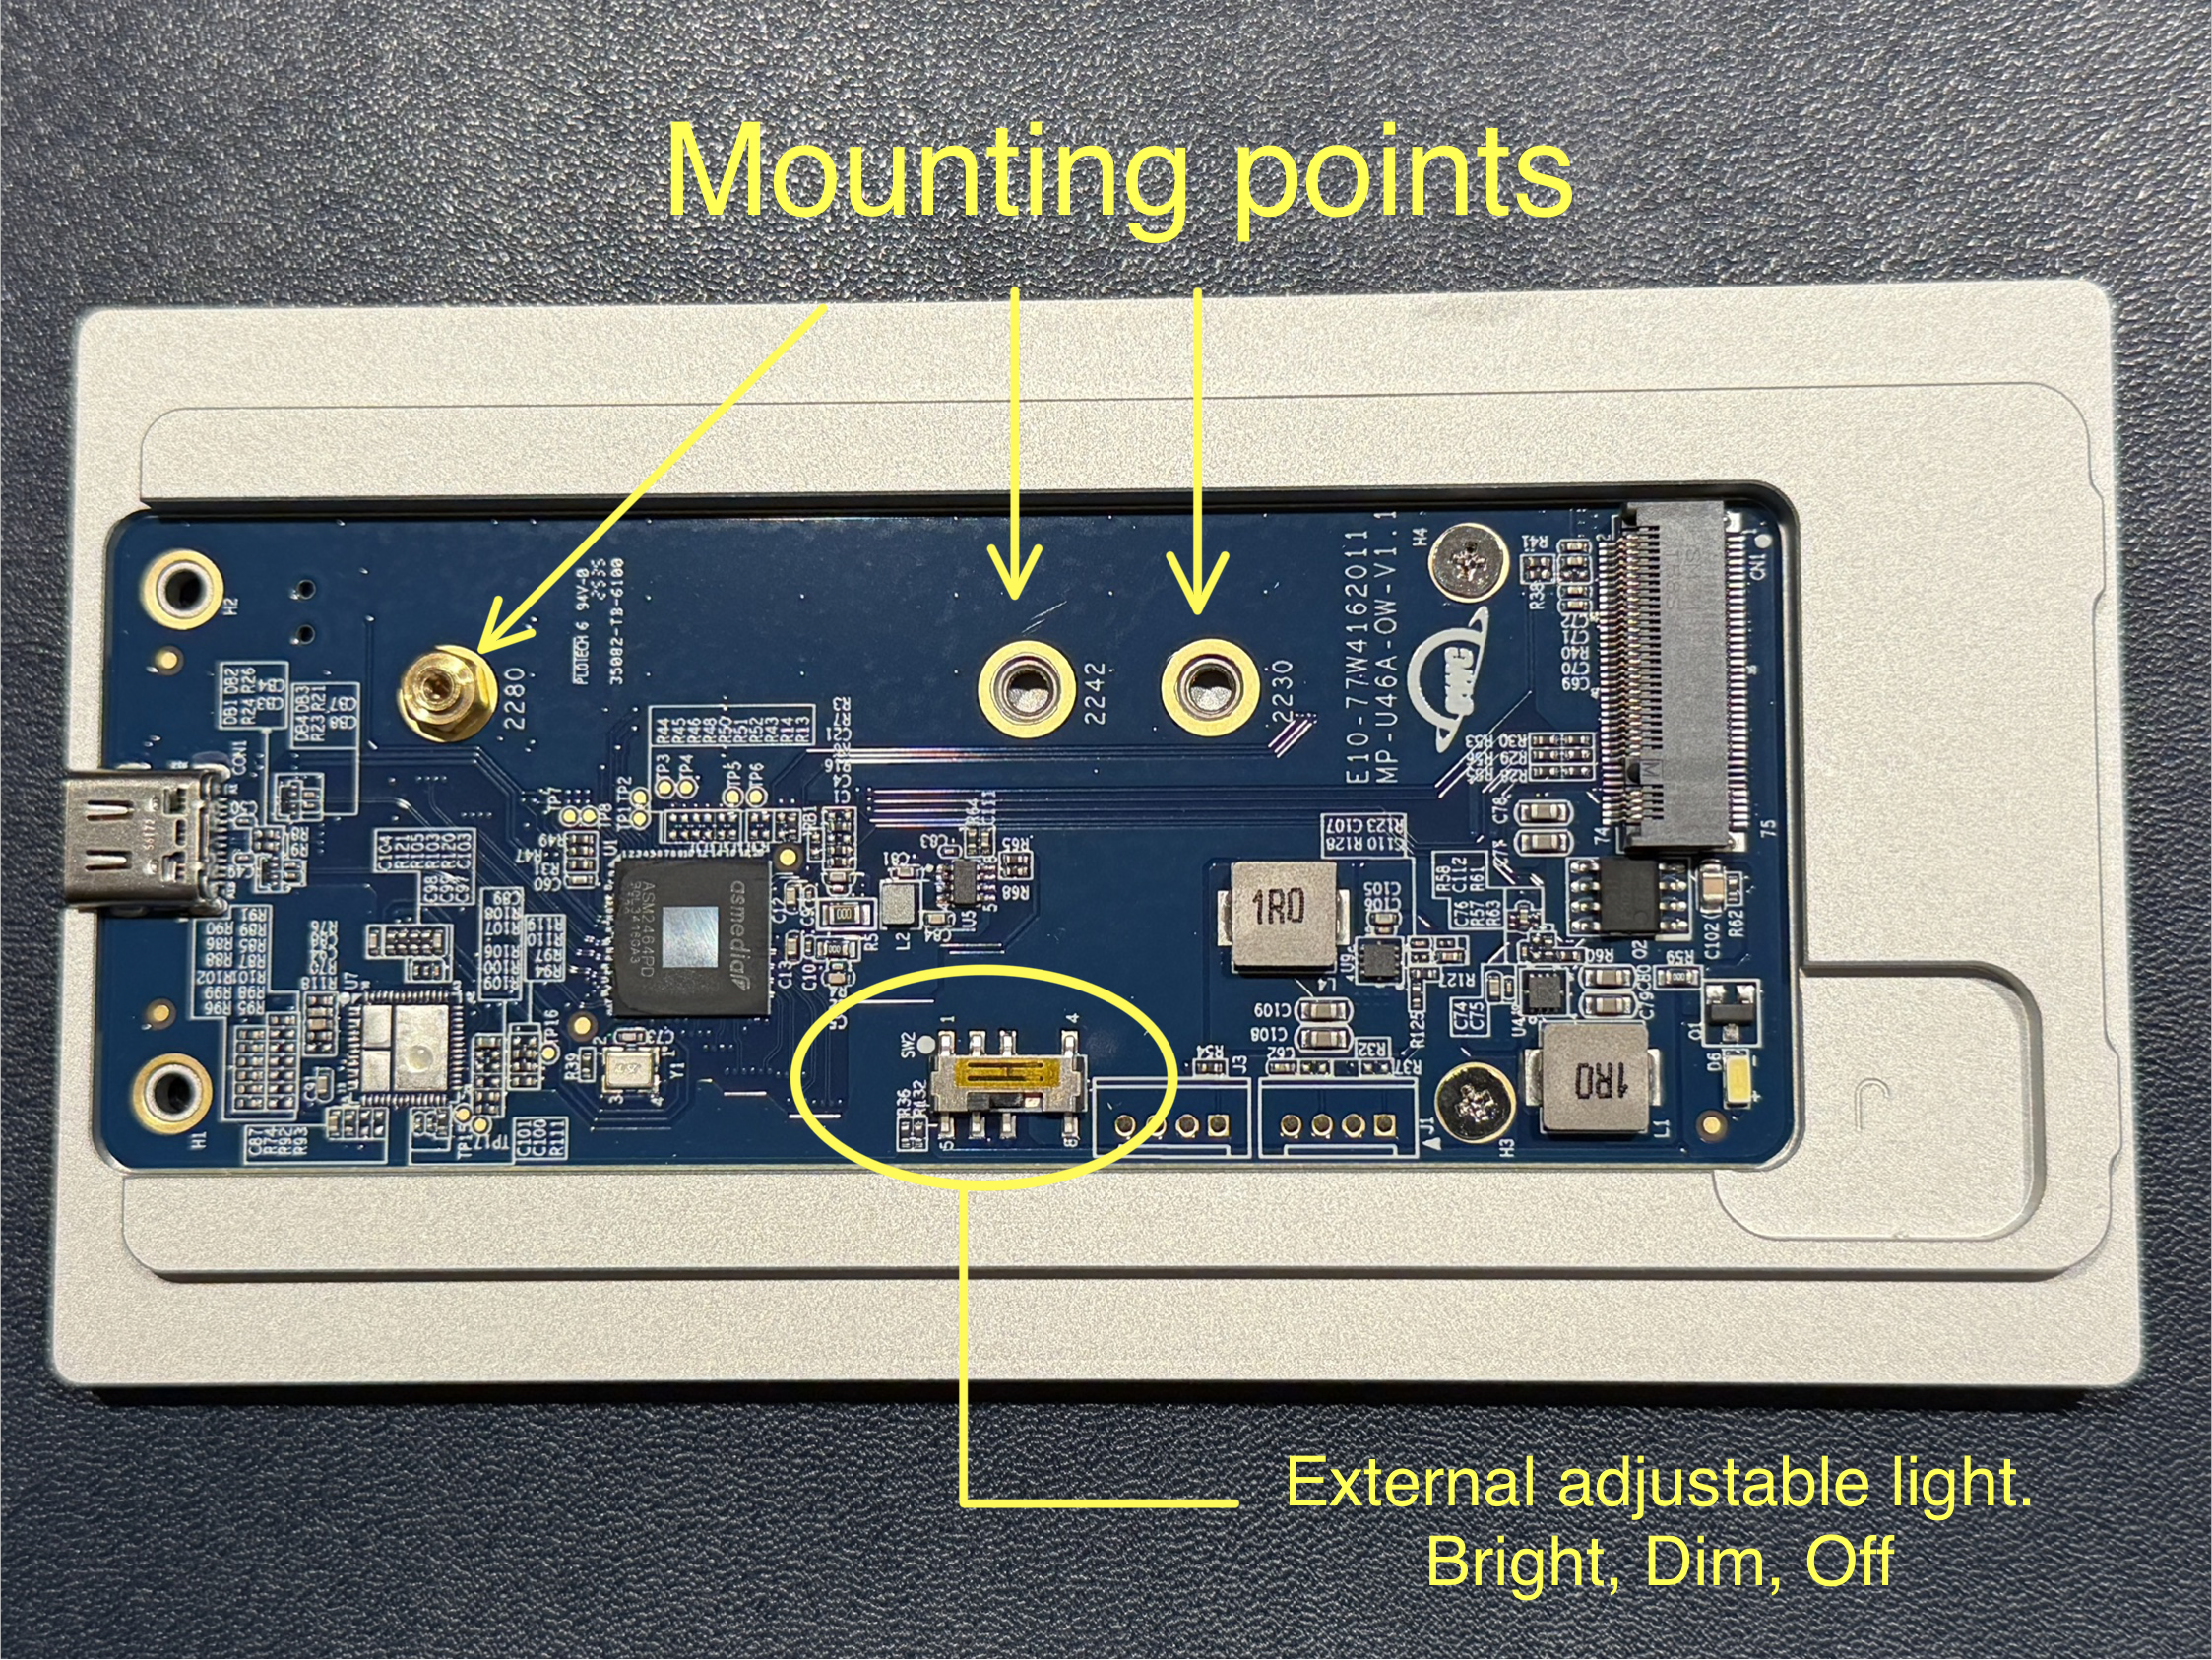
Place your SSD into the slot at a 45 degree angle. DO NOT TRY JAMMING THE SSD IN HORIZONTALLY! You will notice a little notch in the slot with it marked "m". Line that notch gap with the notch gap on the SSD and insert.
Once you hear a click and the SSD sits flush, take your finger and gently press the SSD down to sit horizontally and reinstall the mounting screw. Look at the device from all angles and ensure the SSD sits completely flat and flush with the enclosure. Do not overtighten the mounting screw, obviously do not leave it loose.
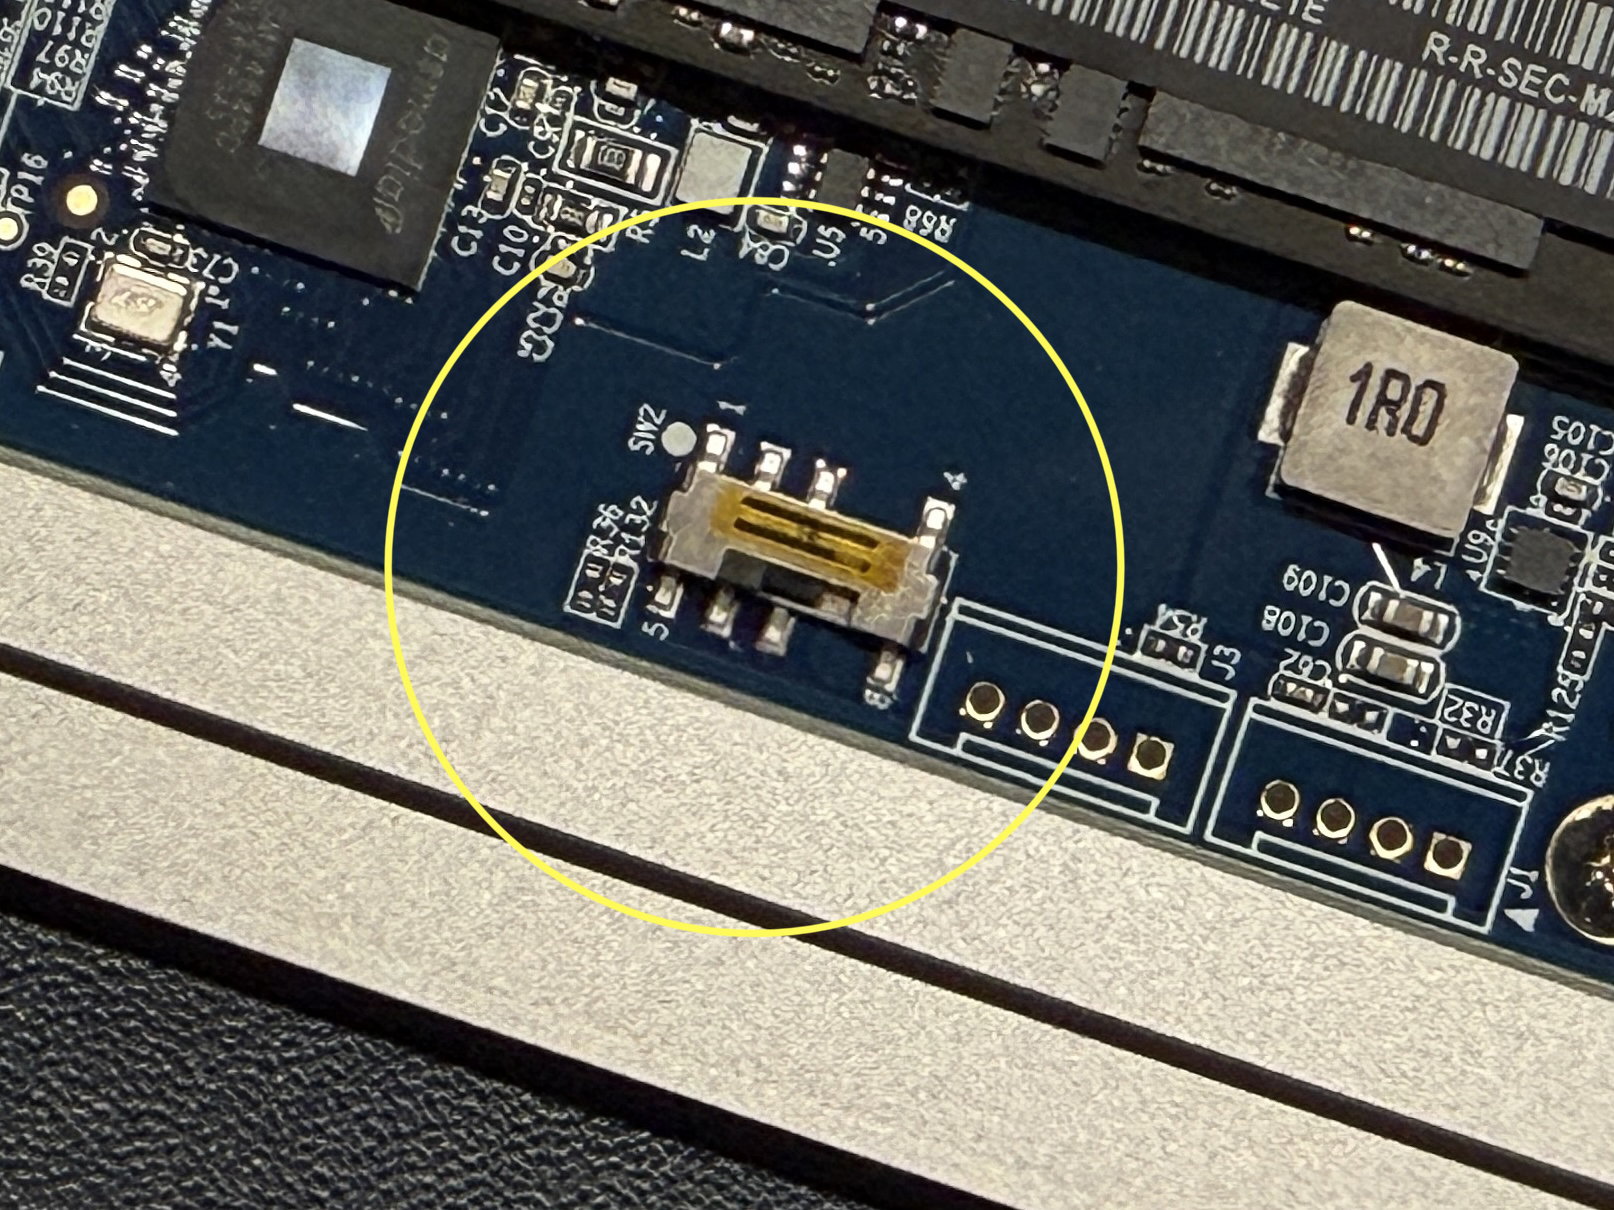
- Adjust the external light if you want. There's a switch for full brightness, a dim setting, and off.
Ensure the thermal pads make correct contact, I had to trim one side of my thermal pad for the board because it was coming into slight contact with the SSD and preventing the case from sitting flush/the proper contact between the case and the board.
Place the top half back into the enclosure using a similar technique to the SSD installation. If not, the 2 grooved inserts will not mate properly and the case will not make correct contact with the 2 halves, the thermal pads won't make proper contact with the board or the SSD. It's important to not say "fuck it, it's only a little bit off the screws will straighten it out!" Slide the top half into the grooved slots at a angle and then firmly press down. Once the screws holes have perfectly lined up and the enclosure is mated properly, re-install the screws for the case. I noticed I had to keep firm pressure during these steps to prevent the case from becoming misaligned just barely. The trick is to not use brute force and break something.
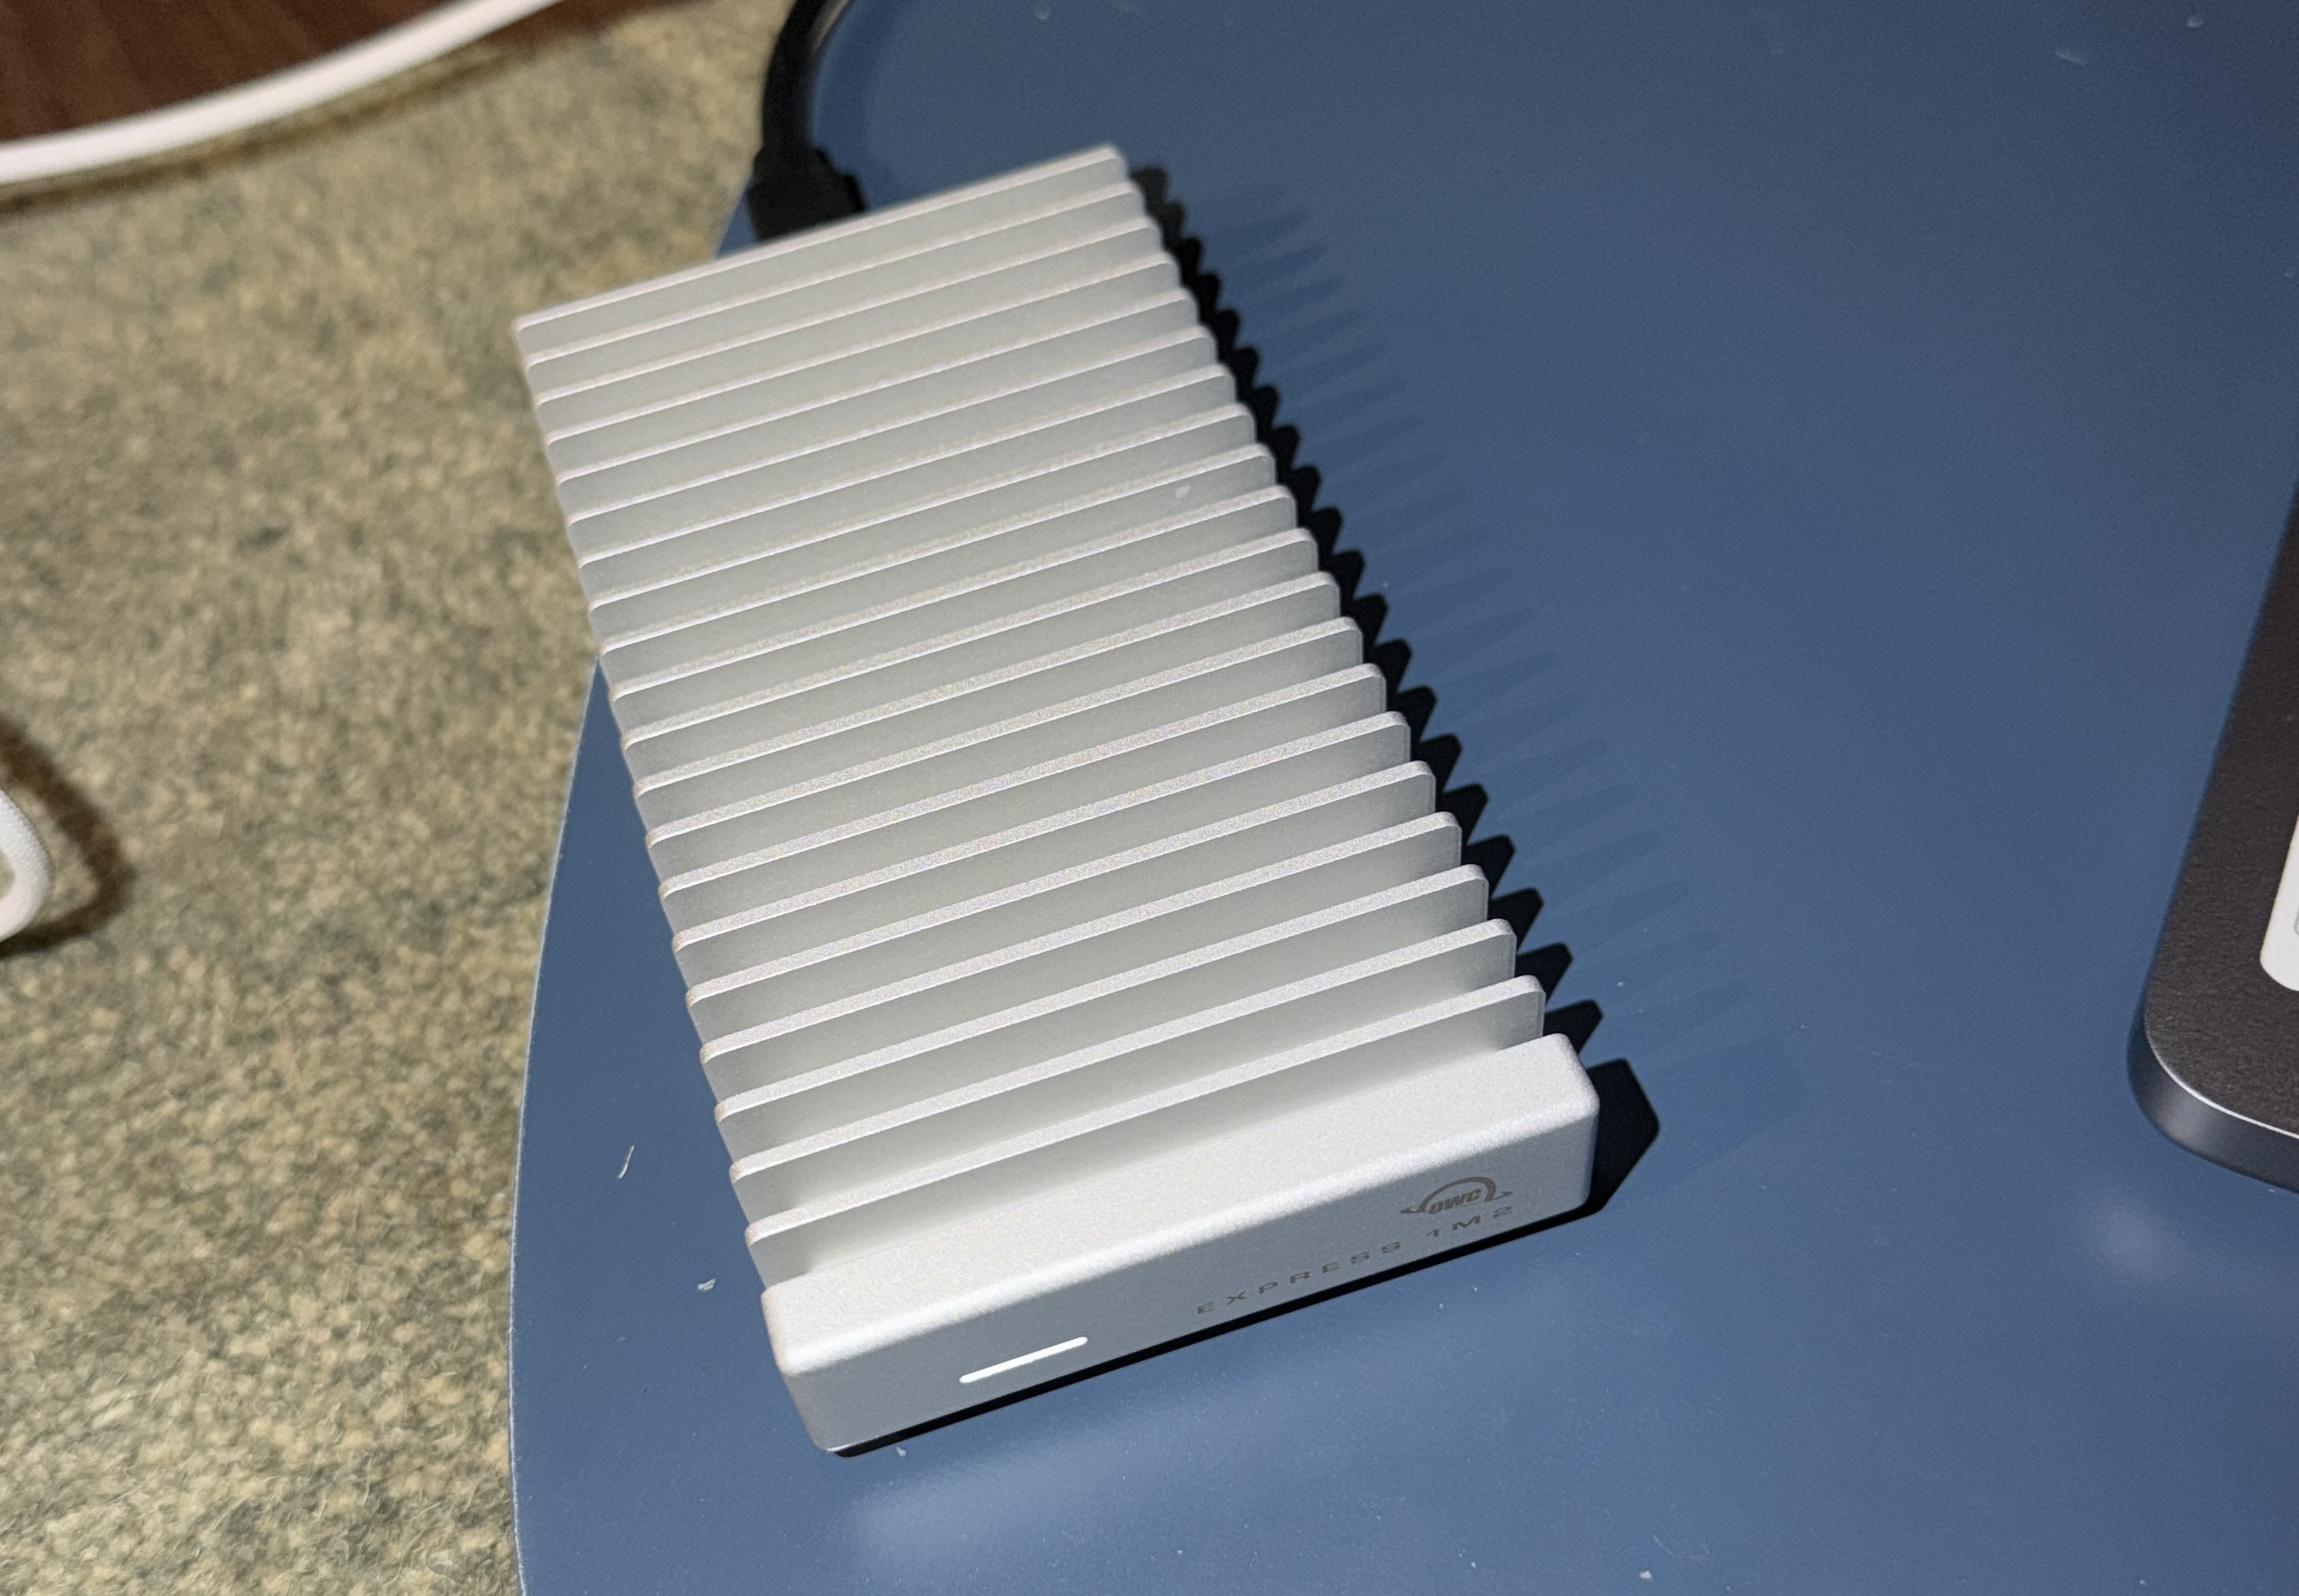
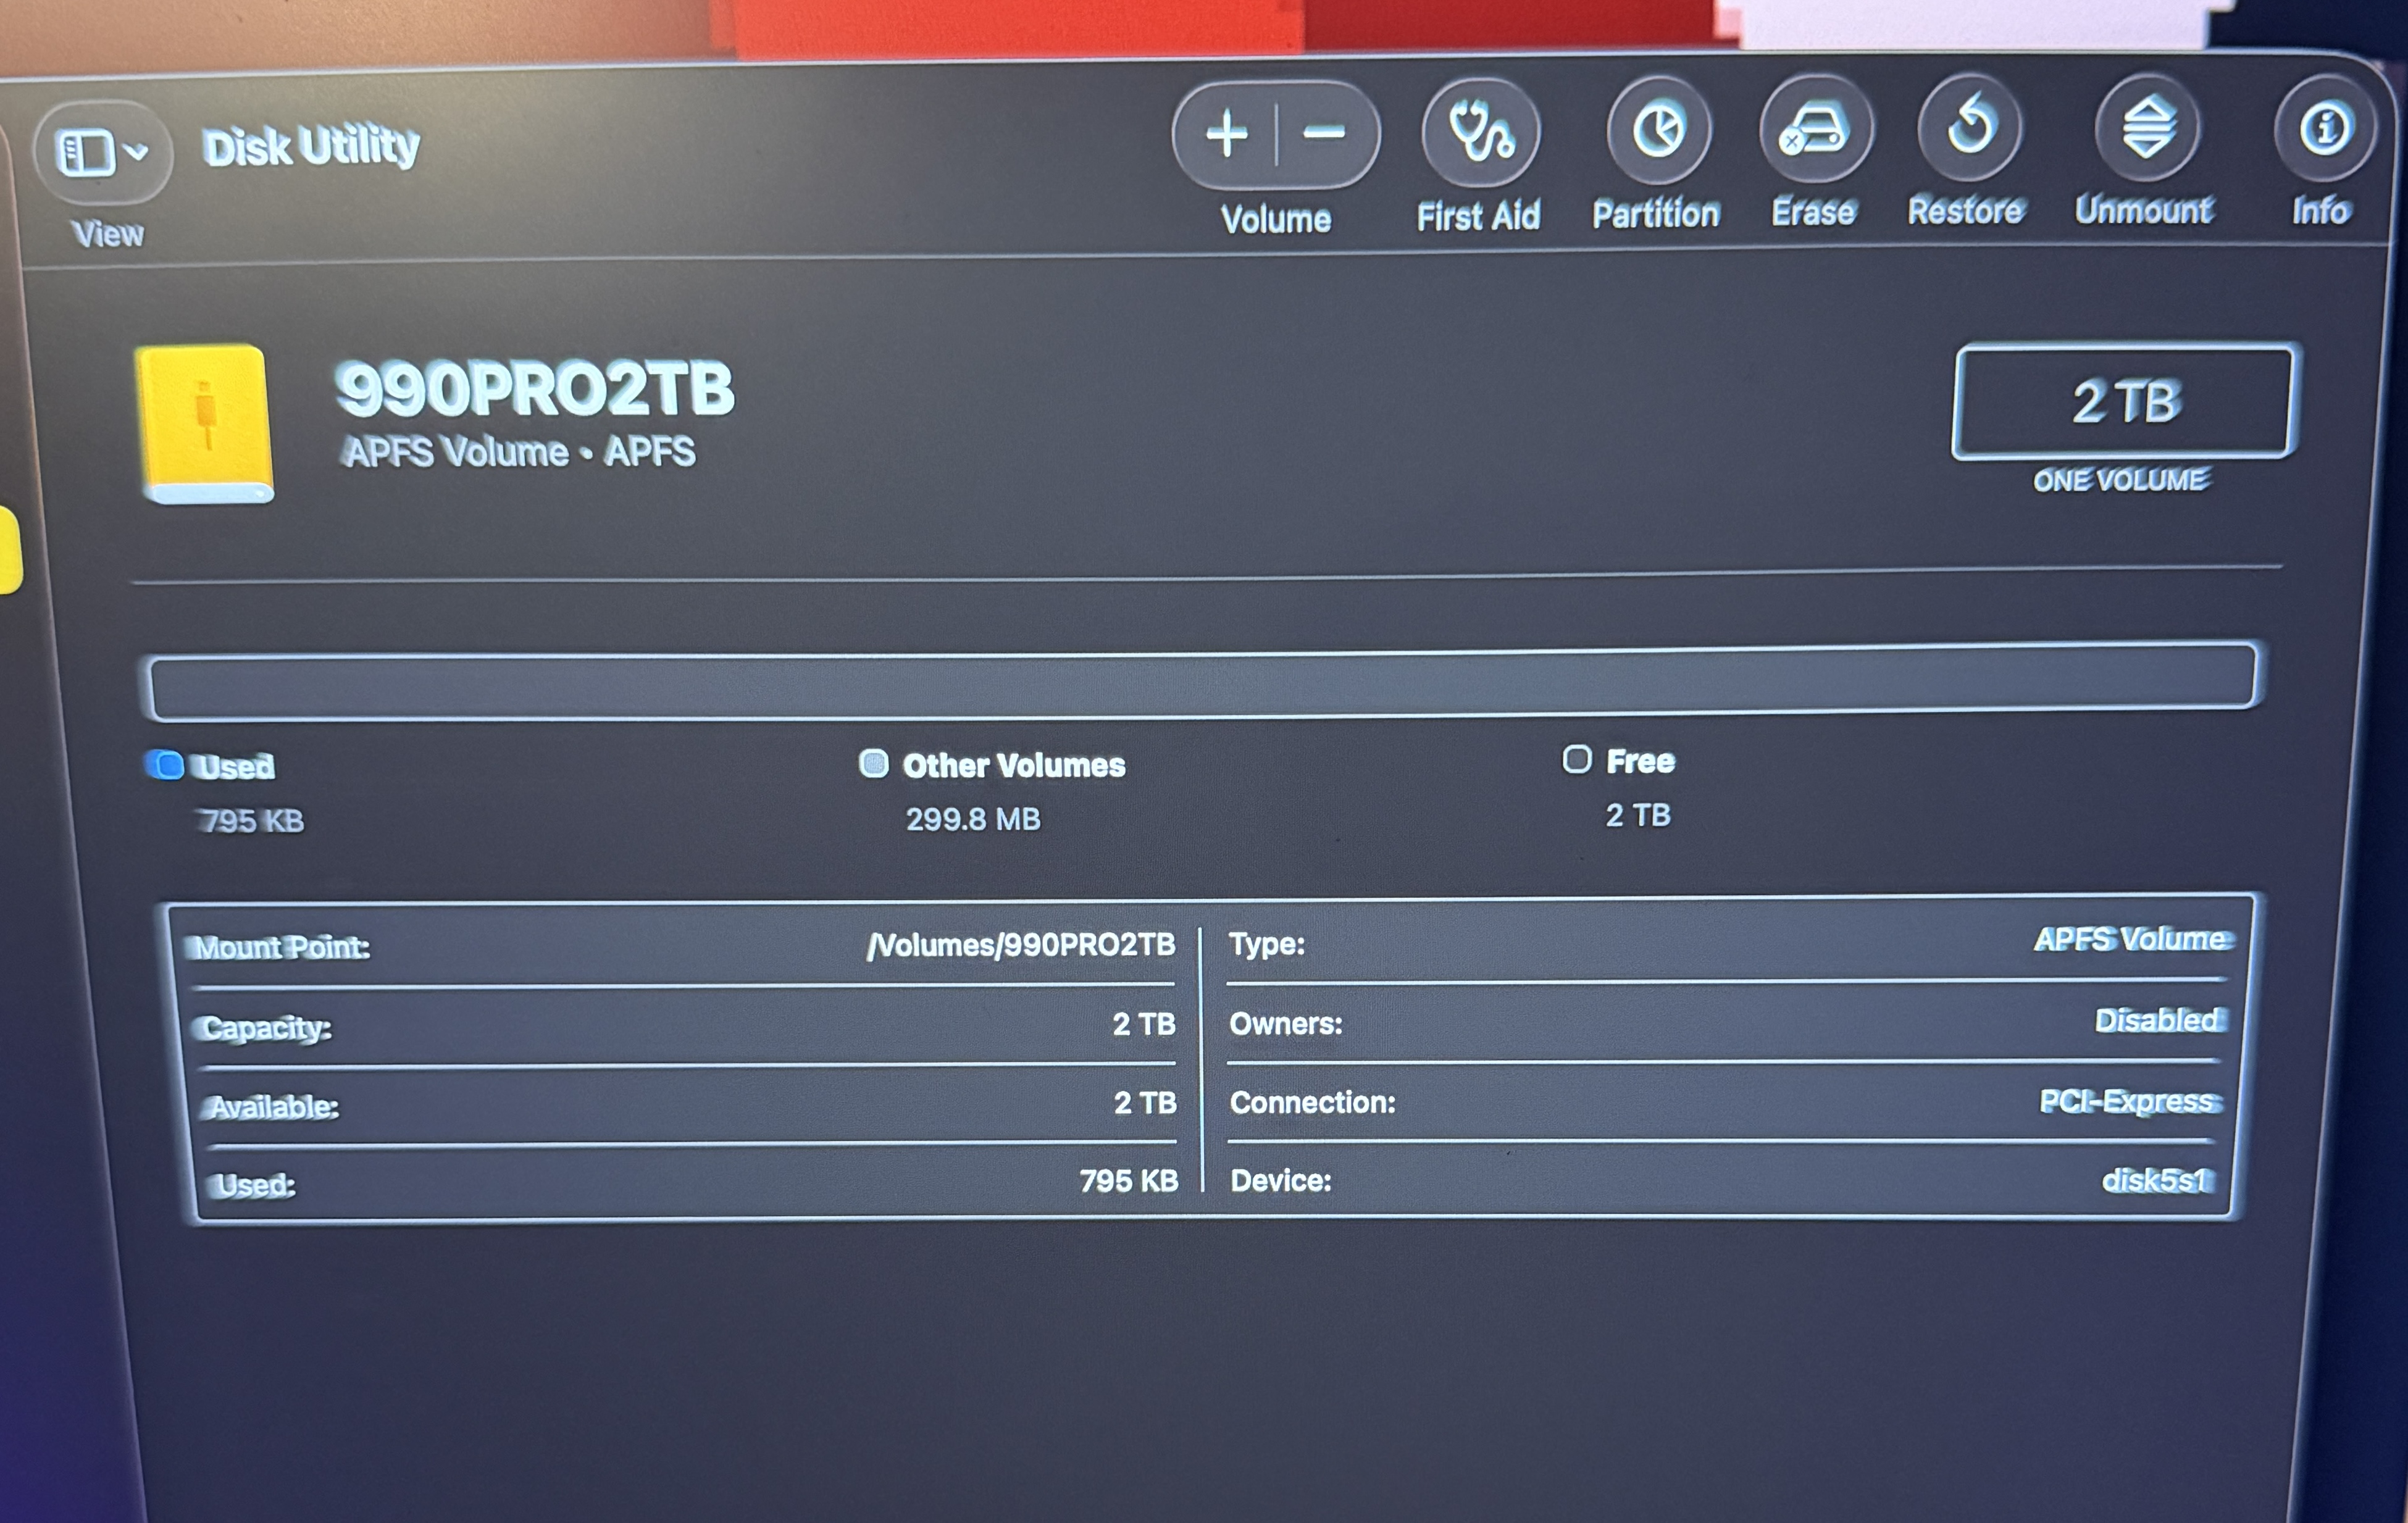
- Plug the SSD into your laptop, if you are using windows or linux you might have to do some work around steps. This is supposed to be plug and play with macOS because that's what I daily drive. Your computer will not recongize it initially. Give your SSD a name, format everything off the SSD and wait a few seconds. Your computer will now recongize the SSD as a normal drive when you plug it in.
500 GB worth of movies transferred over in under 2 minutes!
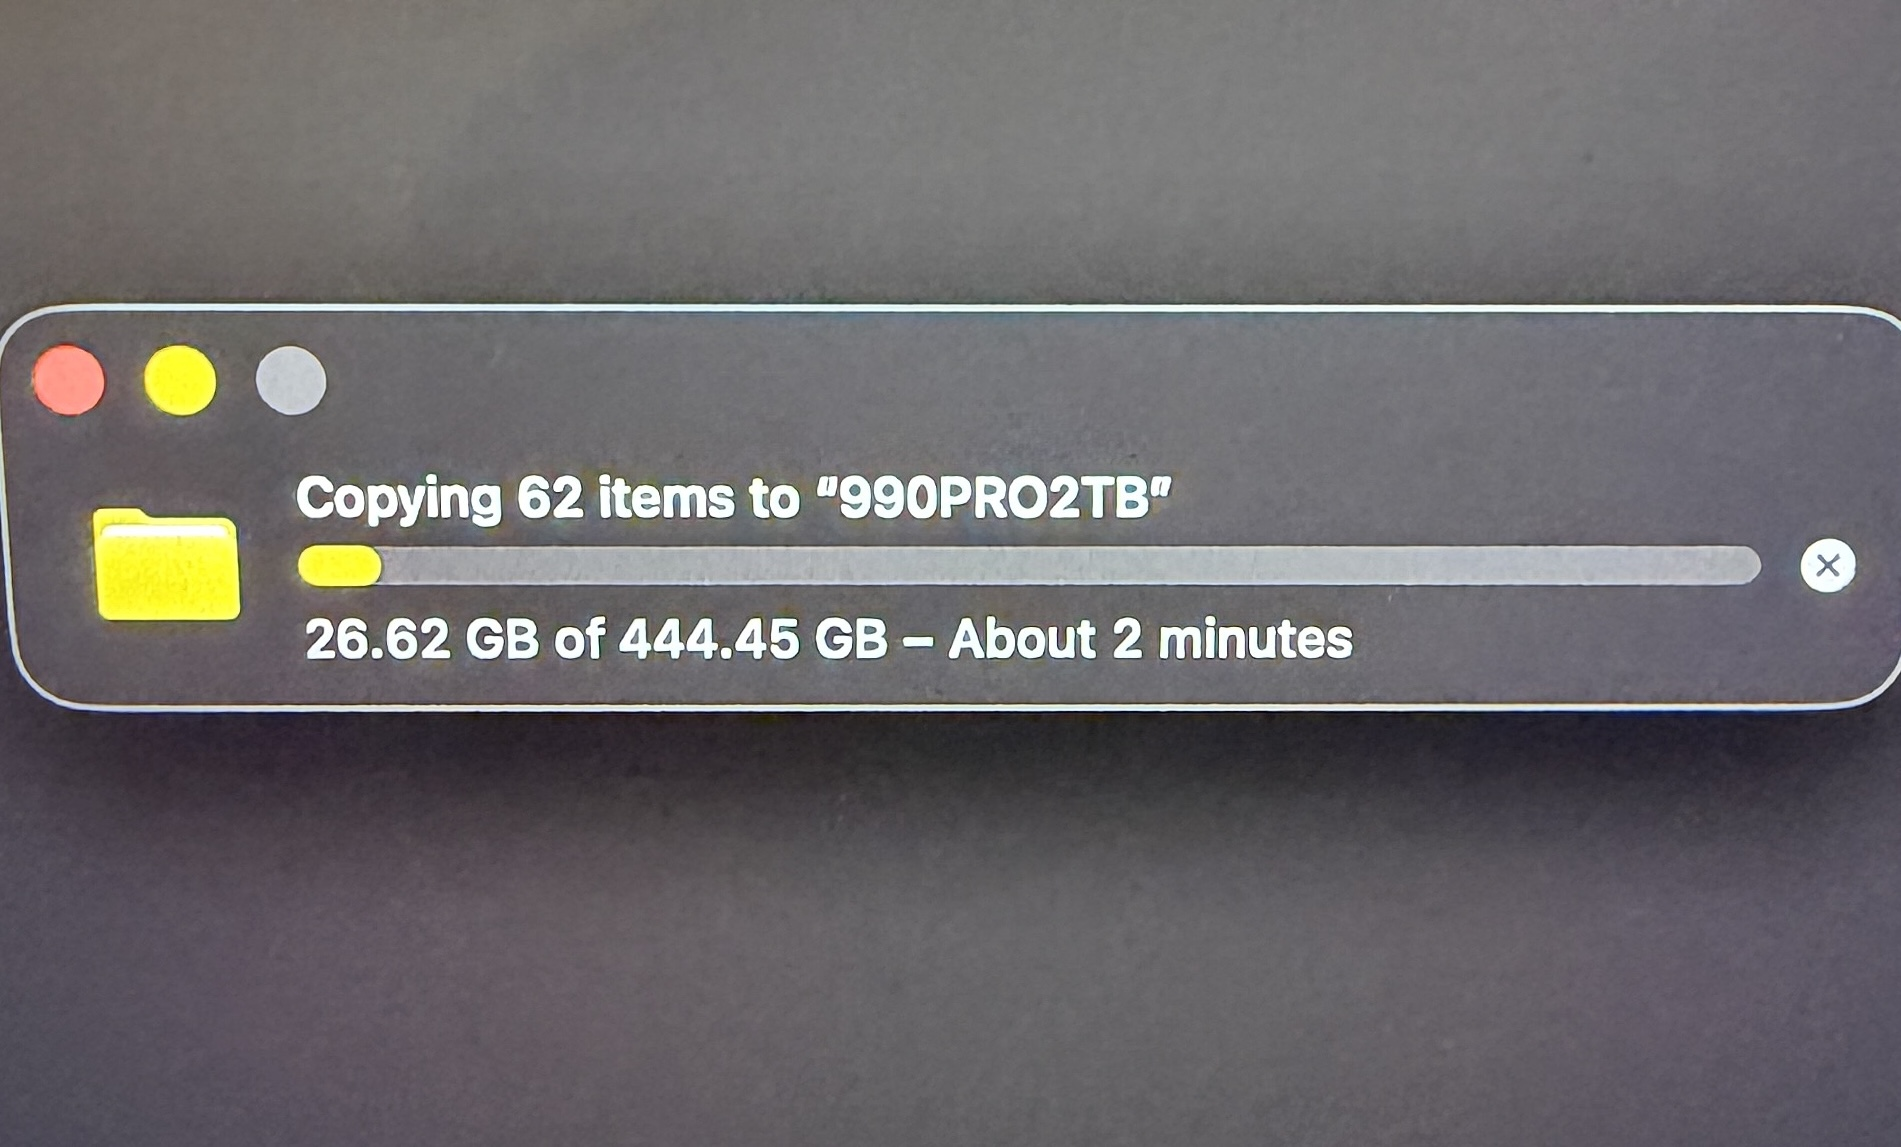
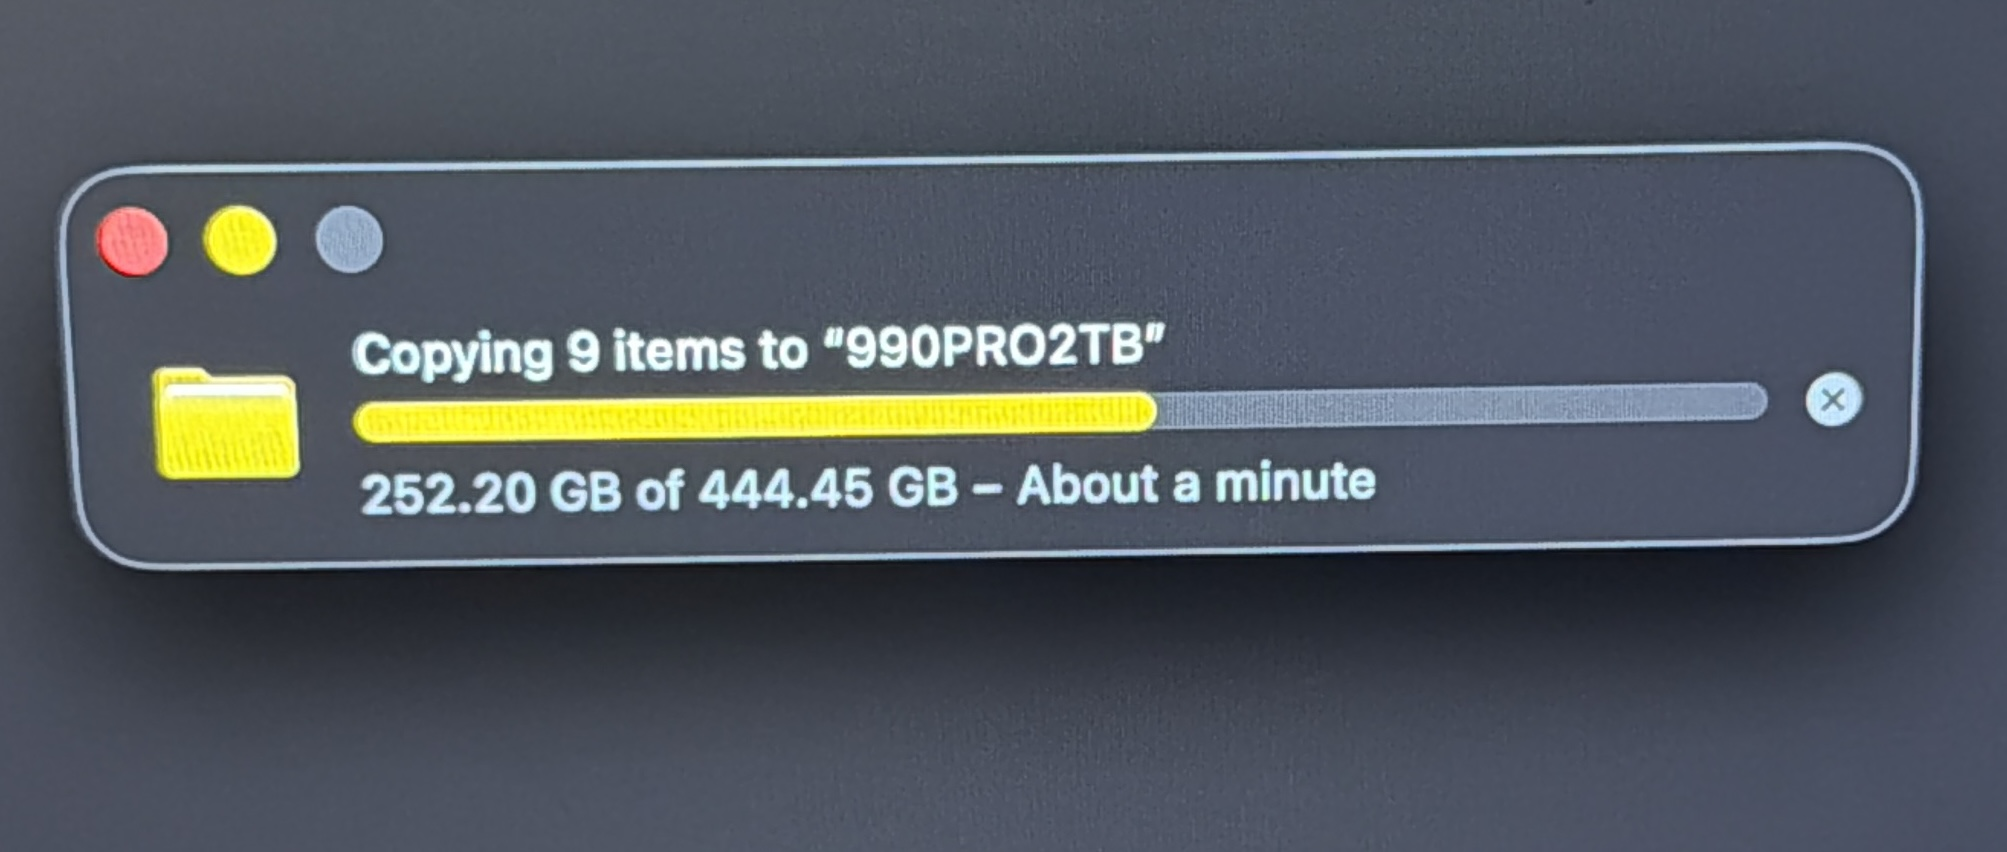
- Enjoy!
Is This Really That Great Of a Deal?
YES!!!! and no... listen I understand that spending $500 right now isn't cheap especially on storage but look at what the competition is selling. For the same amount of storage and the highest speeds they have to offer (which is a measley 4000mbps or 4gbps for those who can't do math) Sandisk is charging customers ALMOST $700?!?!? That's insane to be paying those kinds of prices for a product that is 40x slower than what you can build yourself in under 2 minutes for LESS money. Even with the Sandisk on sale it's still a terrible deal because the damn thing is 10x slower! To the average buyer you're probably saying who cares? This is so easy to build yourself and costs the same (if not cheaper when the Sandisk isn't on sale) so why wouldn't you build something like this? The only acceptable answer is because you're lazy and you lack whismical thoughts to build something yourself.
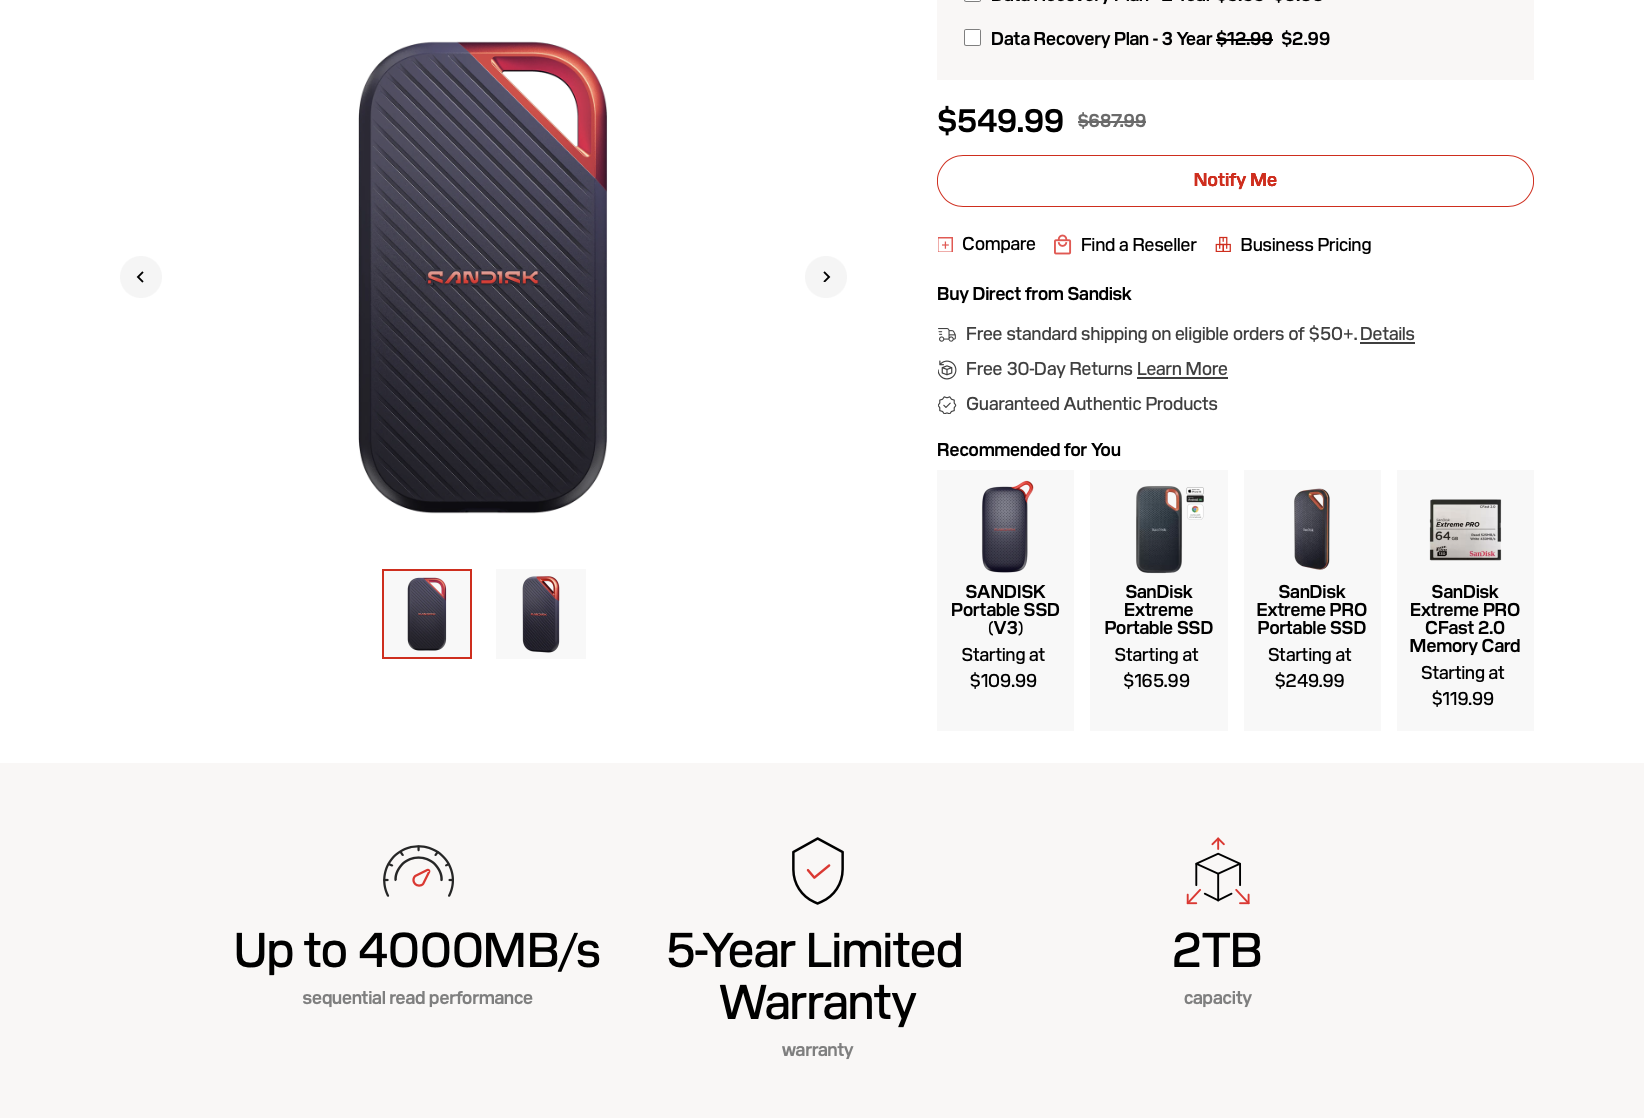
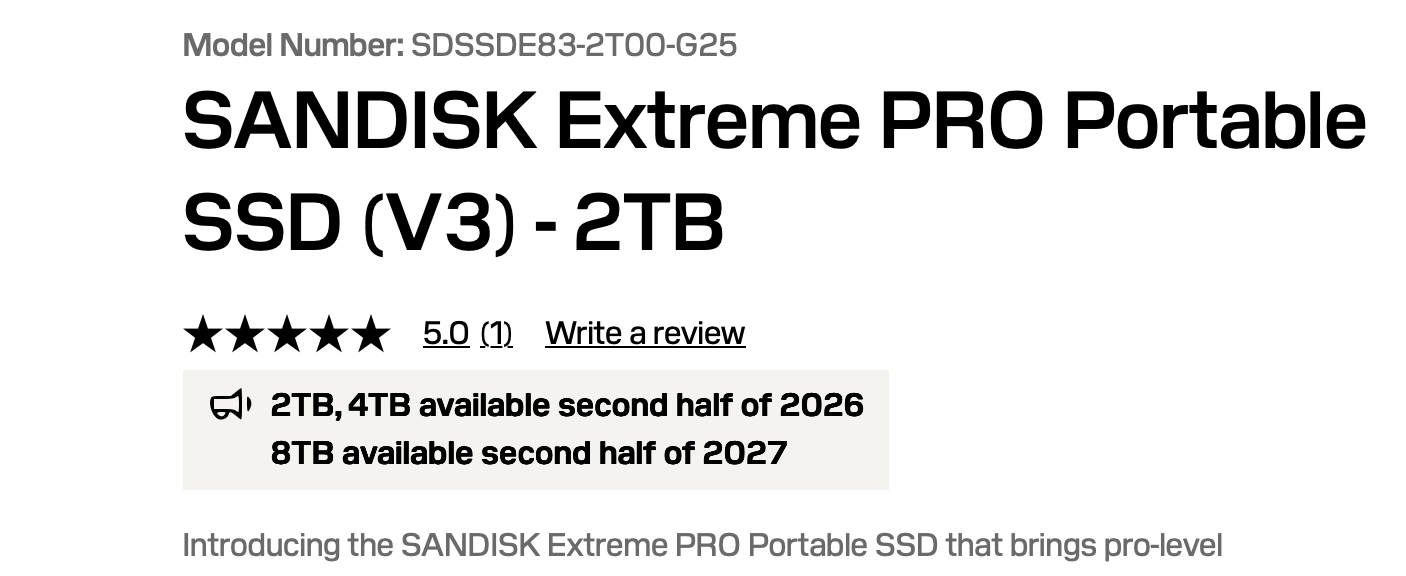
So do I think everyone should sprint out to build something like this? No but I do think this is a great way to save some money while getting multiple uses out of a product. If you've been eye balling new storage for awhile this is a great project for you. While I (or you if you're following along) save up money for a NAS, I can use this as extra storage. That frees up my laptop storage again and when I am ready to start with my NAS, I can transfer over the M.2 to the NAS and use it as storage on that!
Want to check out more of my stuff?
You can go to:
Thanks!